As customer you will sometime have the need to setup your own customizing tables. These tables you create in SE11 and mark them as customizing tables, which means all updates must be done in development system and are put in transport. This own customizing table can then be called from your custom programs, user-exits and enhancement points.
Managing these custom tables becomes increasingly difficult over the years. An elegant solution for this is to create your own IMG customizing setup and corresponding documentation. This way you can easily track which customizing custom tables you have and for which reason.
This blog will answer following questions:
- How to set up a custom IMG customizing tree?
- How to link the tree into the real SAP customizing tree?
- How to link the IMG entry to your customizing table?
- How to document your custom IMG entry?
- How to deal with issues in SAP IMG?
Preconditions for Z table
Your Z customizing table must have the following to be easily integrated into a customer IMG:
- Table has technical delivery class Customizing table
- Log Data Changes option is set to true in Technical Settings of the table
- Table maintenance generation has been done and table can be maintained in SM30
Setting up the custom IMG node as part of the SAP reference IMG
SAP has two ways of setting up extra IMG nodes:
- Via transaction S_IMG_EXTENSION
- Via transaction SIMGH
Best way is via S_IMG_EXTENSION. After an upgrade IMG is renewed and SAP might overwrite your own entries. When using the S_IMG_EXTENSION option SAP puts your entries aside and you can re-merge them after the upgrade.
After starting S_IMG_EXTENSION, you come into an empty screen. First you select the main IMG structure “SAP Customizing Implementation Guide” you want to enhance.
Next you need to create a custom Enhancement ID by clicking on the empty Enhancement ID search help. On the subsequent search screen click the Create button:
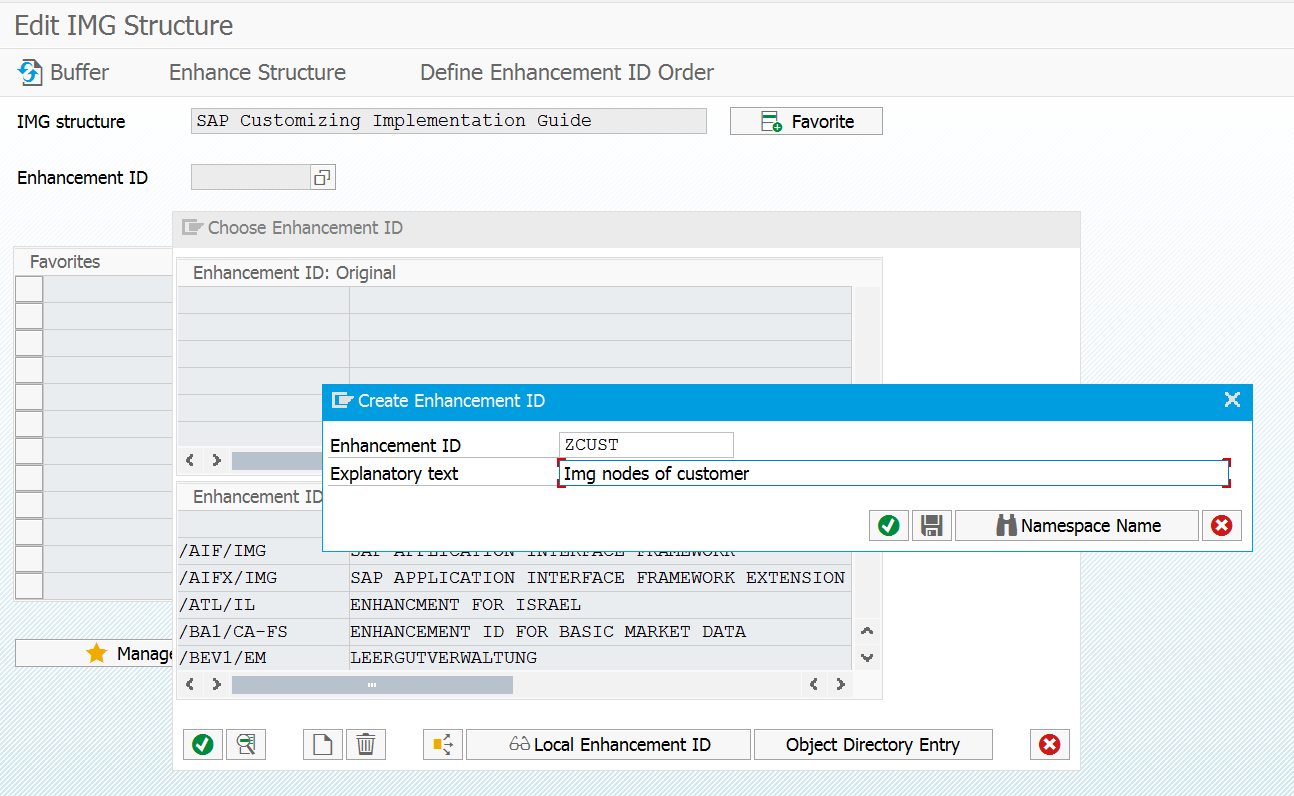
Attention: put the Enhancement ID generation into a real transport and not into $TMP
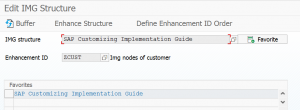
Tip: after selection of the IMG structure node put it into your favorites list:

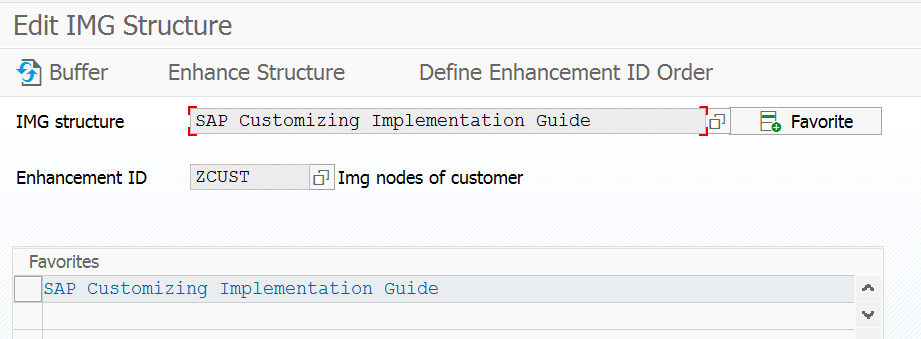
On the main screen you now can select the new Enhancement ID. Then pushing the Enhance Structure button will bring you to the change screen of the IMG structure.
In here you select the node position where you want to add. Then select to add a structure node:
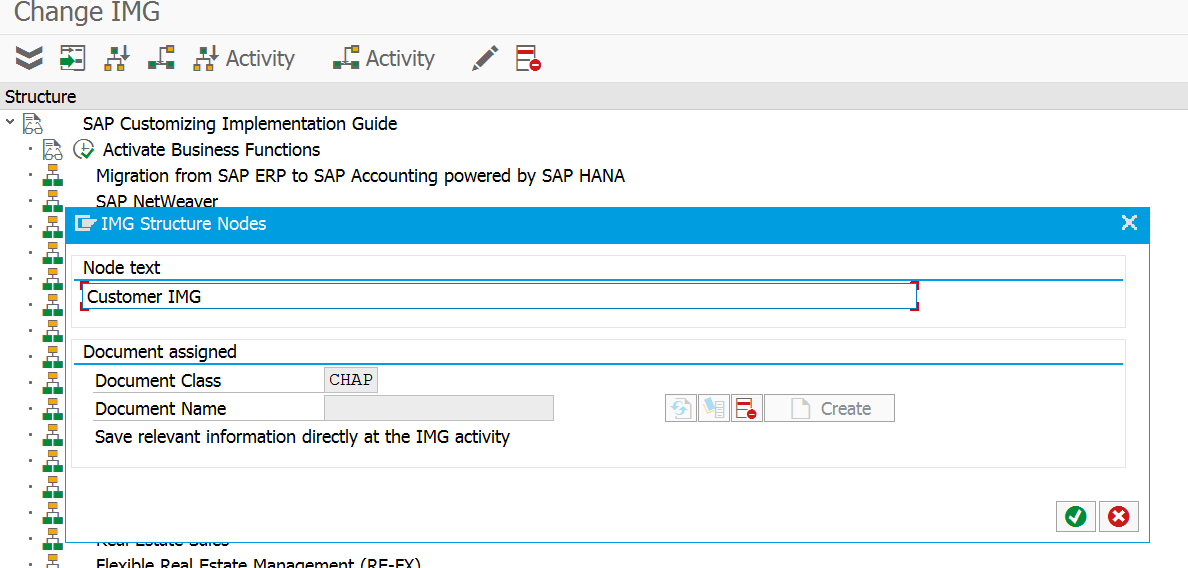
The node is nothing more than a menu entry. You can add nested ones as well. Give the node a good descriptive name.
After the creation of the node, select it. Now you can add an activity as subnode.
On the first screen of the creation of the subnode you have to give the node an ID and a name. On the assigned documents you also give the document a name.
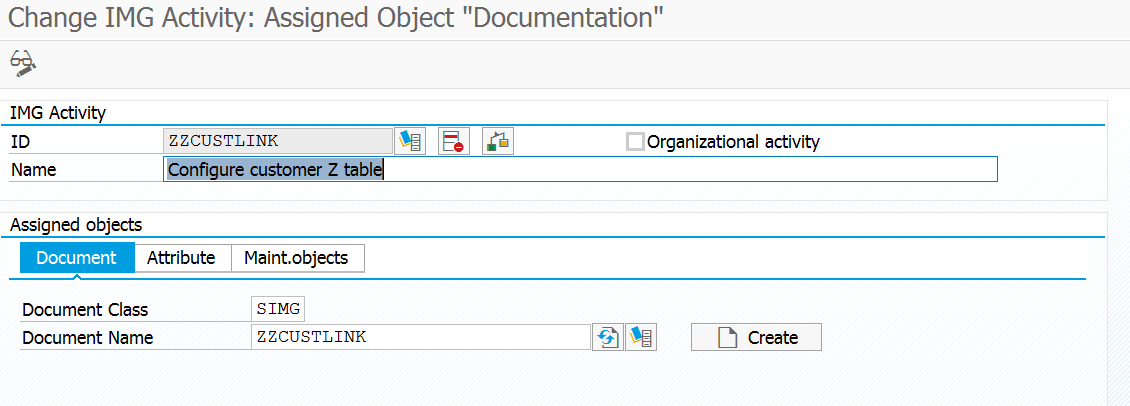
If you push the Create button you go to the maintenance of the IMG node help text:
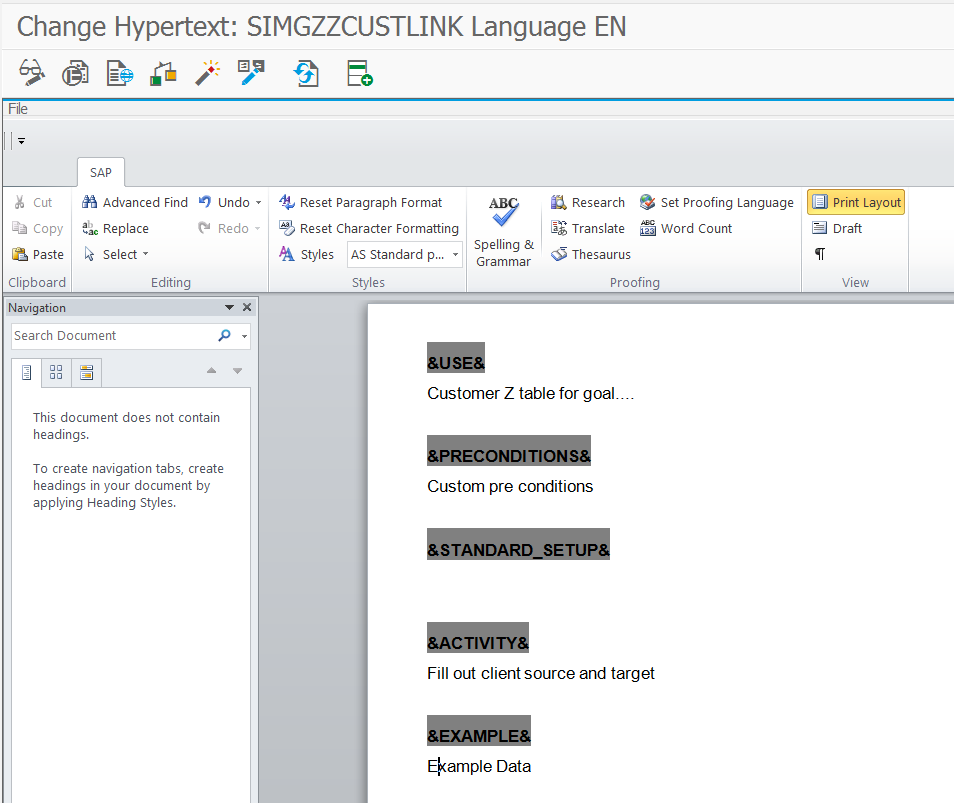
This is the place to document the reason of your extra customizing table, how to fill it, and for example list all the user-exits and enhancement spots from which the table is called.
On the Maint.Objects tab we finally can link the real table.
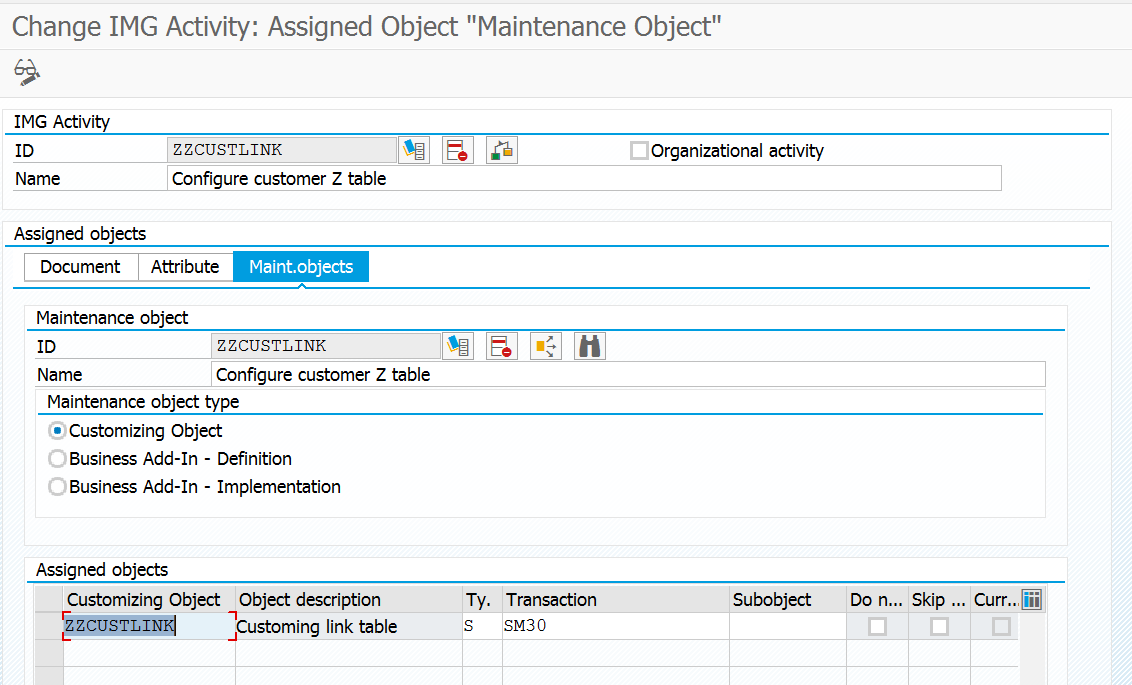
In the customizing object enter the Z table (in this example case the Z table is called ZZCUSTLINK). For maintenance type use SM30.
Save this entry and save the changes to the tree enhancement and you are done.
End result
Start the normal SPRO transaction and you can have a look at the end result:
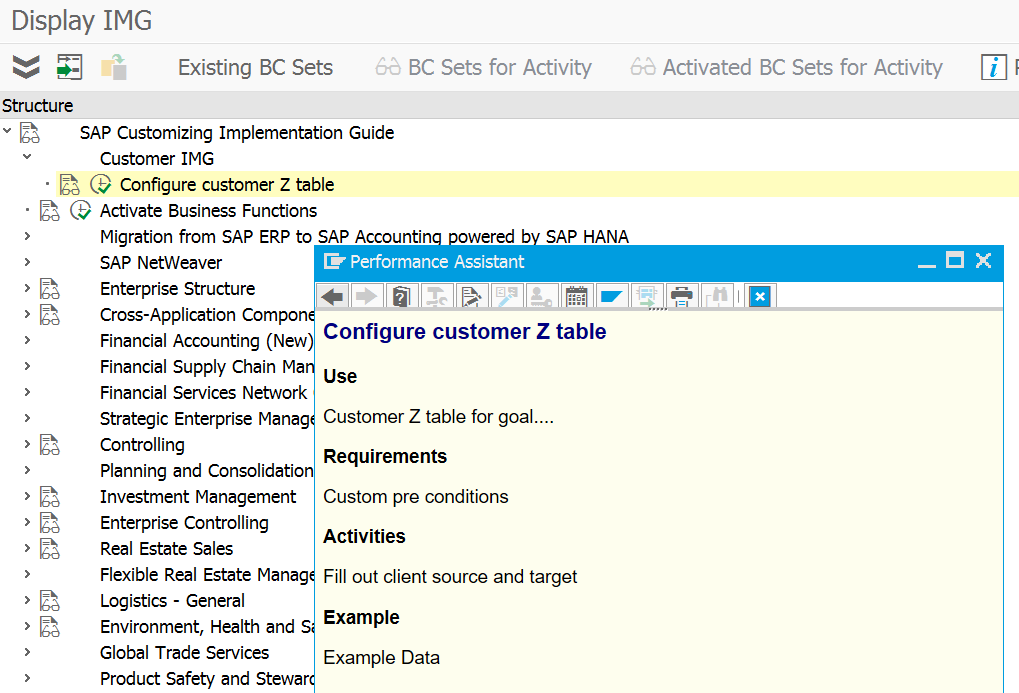
You can launch your customizing and see your documentation.
Tip: do spend time on listing your tables into chapters and also spend time on the help text. This can save you lots of time. After 6 months, you normally would not remember the peculiar things of this Z table and why it was needed and how it should be used. You are happy then you properly documented it.
Using the custom IMG in into customer generated project IMG’s
Some customers create their own project IMG based on the standard SAP IMG. Initially your custom IMG extension only shows in the standard IMG and not in the customer project IMG. To include the custom IMG into the customer project IMG start transaction SPRO_ADMIN. Go to the Scope section and click the Specify scope button. Now include the newly generated custom IMG objects:
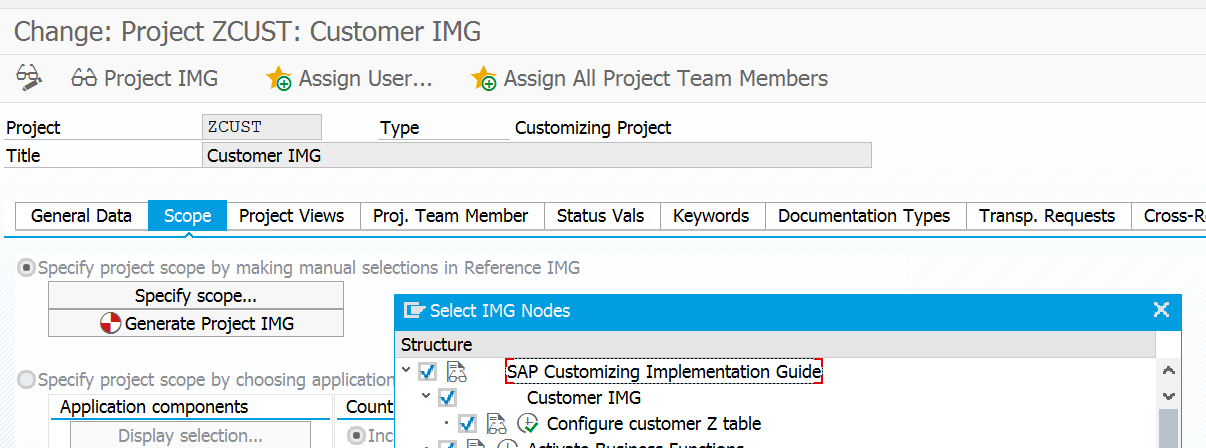
After this is done Generate Project IMG button must be pushed to actually update the project IMG with your changes.
How to deal with issues in SAP IMG?
In some cases SAP IMG has issues. Missing nodes, unexpected entries. In most cases a corresponding OSS note can be found.
A common case is for example after installation of Event Management. Standard SPRO is pointing to SCM in stead of Event management.
In this case (and other cases) you can apply the solution from OSS note 2197261. In the attachment of this note you find program ZSLA_SHOW_REFERENCE_IMGS. Install it and run it.
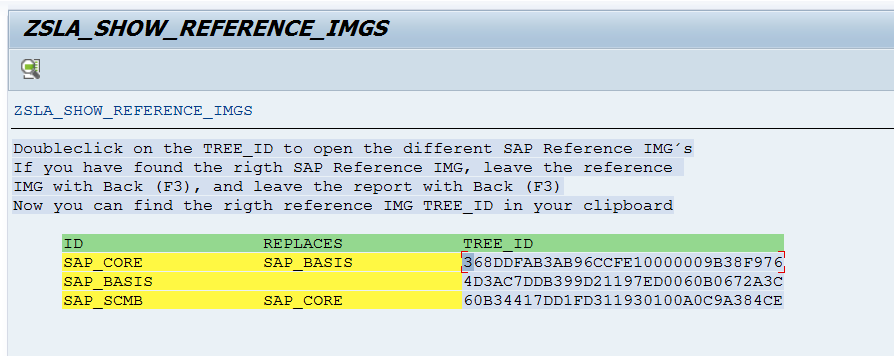
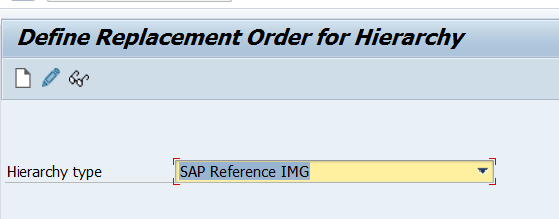
Use the correct TREE_ID in transaction SCUSSEQUENCE to make this one the preferred IMG:
OSS notes and help
Standard SAP help on enhancing IMG can be found here.
Relevant OSS notes: