When upgrading any SAP system, the data dictionary objects changes done to standard SAP will have to managed. This is done in the SPDD phase of the upgrade.
Questions that will be answered in this blog are:
- How to logon to the shadow system?
- How to process the SPDD items?
- Why is it important to document the SPDD items?
This blog is followed by special blog on SPAU handling.
Logging on to the upgrade shadow system
Logging on to the upgrade shadow system to perform the SPDD processing can be done in two ways:
- Create extra SAP GUI entry based on the data from the SAP basis team
- Via SM59 connection SAP_UPGRADE_SHADOW_SYSTEM
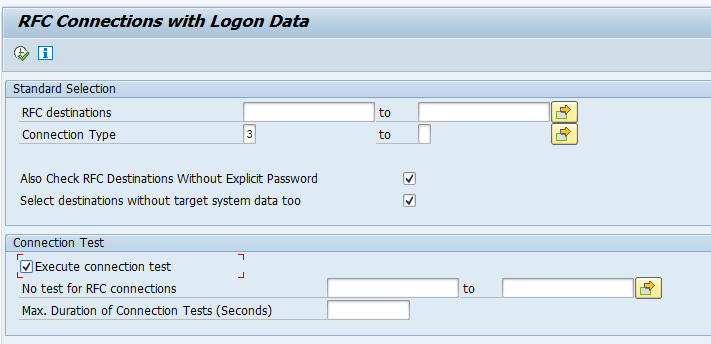
In SM59 goto the RFC connection SAP_UPGRADE_SHADOW_SYSTEM. Now press the button Remote Logon:
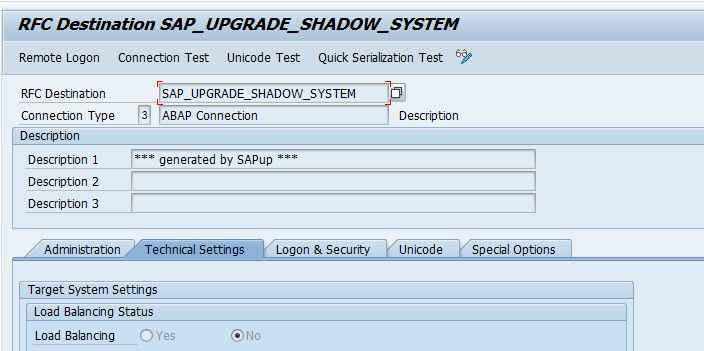
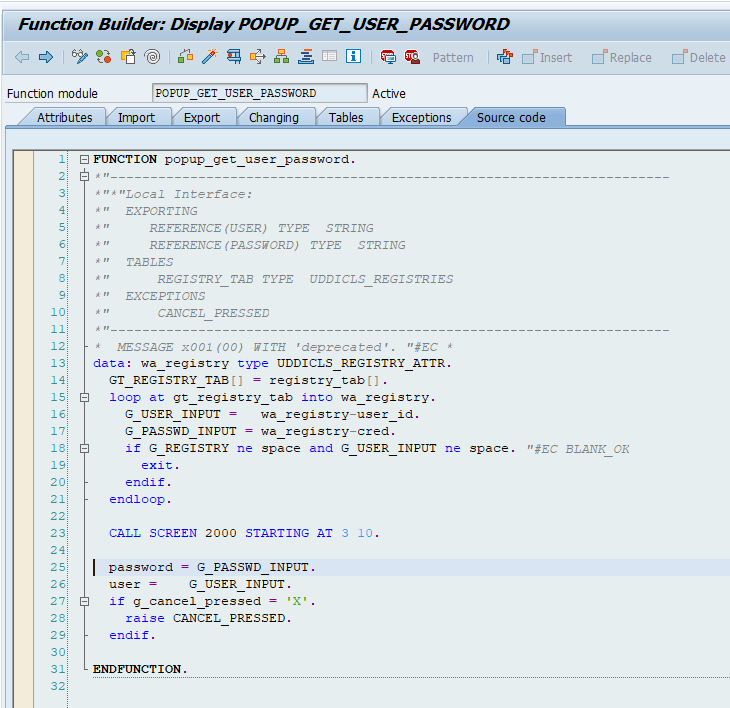
As processor of SPDD, the basis team will need to create your account in the shadow system and inform you on the password.
SPDD processing
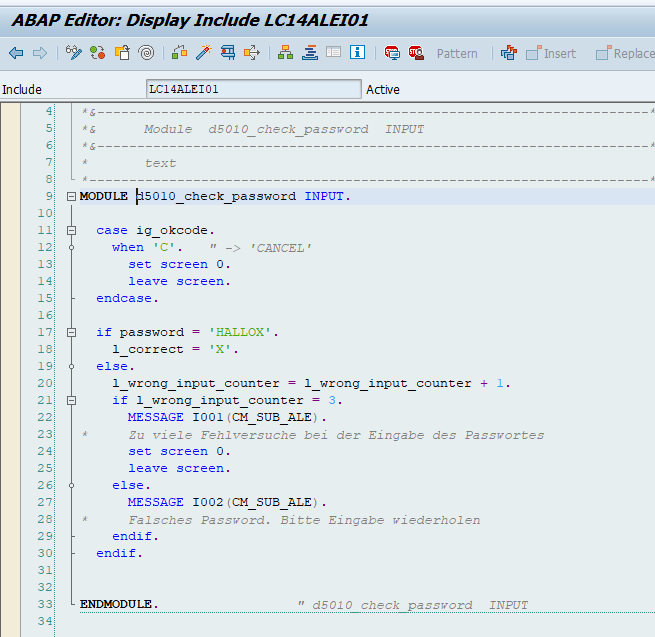
Once logged in to the shadow system, start transaction SPDD:

First start with the With Assistant tab and handle all items, before moving to the Without Assistant tab.
Before starting with any processing, make screen shots/downloads of both tabs. Later when processing the SPDD, write down in any way the decisions you have made. Typically the first upgrade (and SPDD) is done on a sandbox system. Also write SPDD decisions down on the sandbox. If anything appears not ok, you can still do the right thing on the real development system.
The SPDD has to be save in one single transport. This transport will be re-used by basis team from the development system for further on upgrades. This tool (SUM tool) can handle only 1 transport. If there were more transport requests created, merge them to one ( use Include objects functionality) and mark it for transport via Utilities -> Assign Transport in SPDD/SPAU.
SPDD with assistance
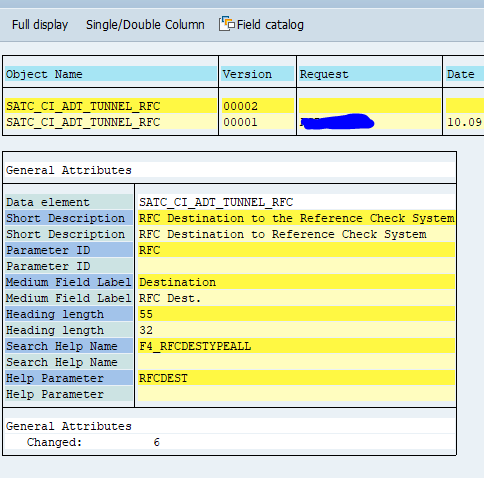
On the SPDD with assistance, per item first select the option Compare Versions:
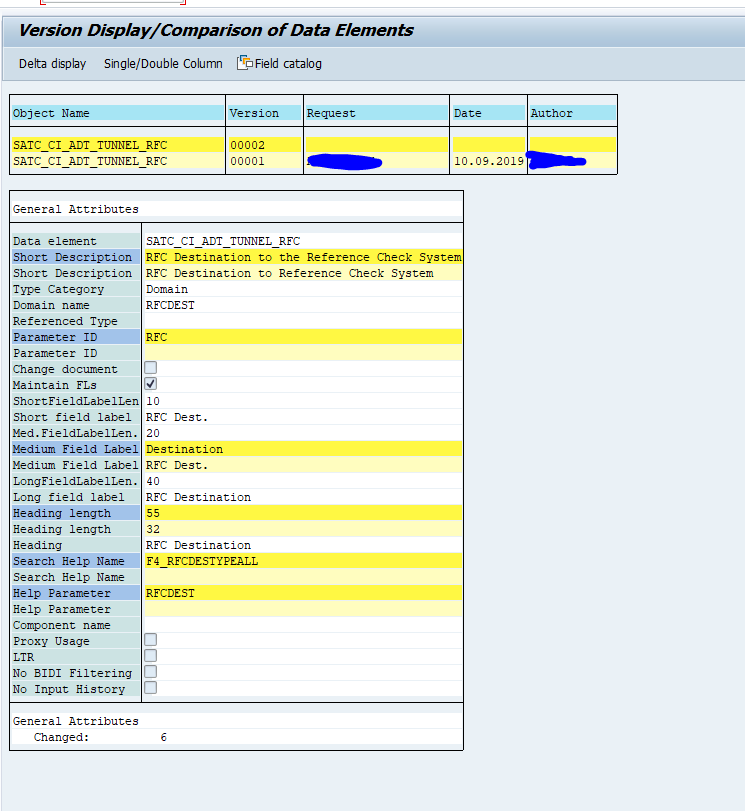
This overview is normally too big to analyse. Press the button Delta display to see the differences:
Based on the content you have to decide to:
- Reset (reset back to standard SAP)
- Adjust (make you own changes)
This decision is not made in the delta screen, but back in the main SPDD screen. Finalize all the items with assistance, before proceeding to without assistance tab. Record all you decision.
More on table appends during SPDD phase: 3501054 – SPDD: Adjustment of tables.
SPDD without assistance
Now proceed on the SPDD tab without assistance:
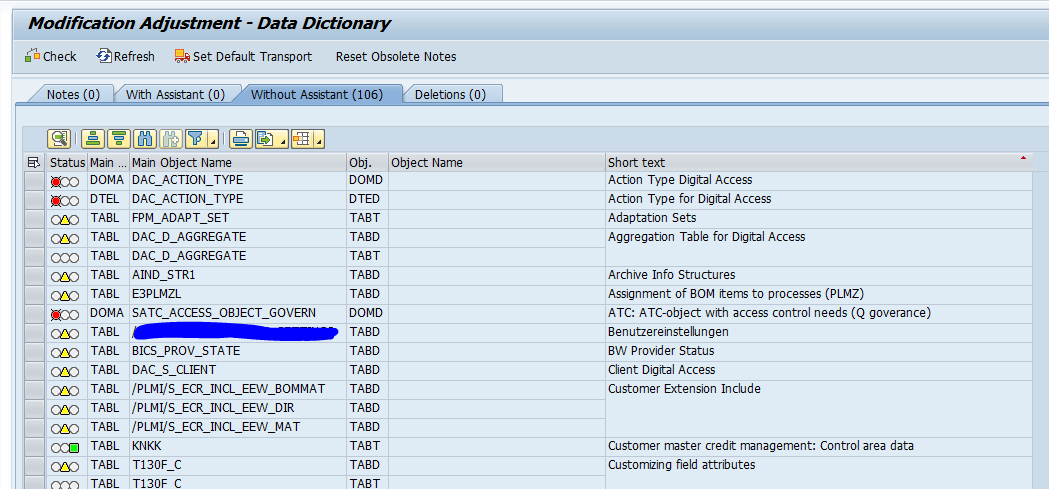
Red items can only be reset to standard SAP.
For yellow, green and white items there are 3 options:
- Reset (back to standard SAP)
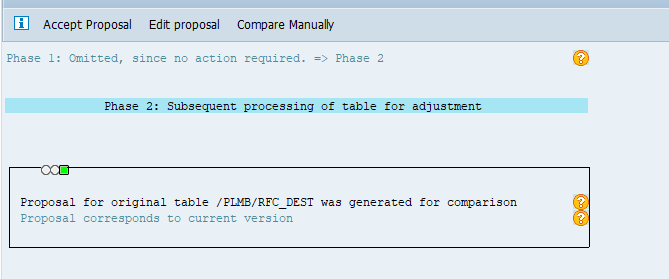
- Adjust with proposal
- Adjust (manually)
A proposal can be accepted or adjusted:
Process each item in the list.
Final checks on SPDD
Before reporting SPDD complete, first check in SE80 that there are no inactive objects left:
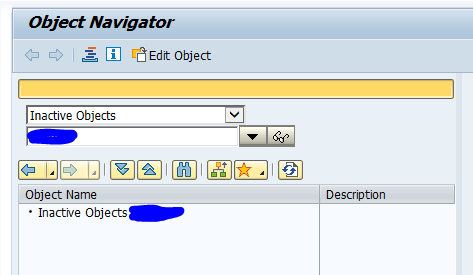
If any inactive object is left: activate it. Solve all issues.
Under no circumstance leave issues that DDIC objects cannot be activated. The further on SUM processing will stop due to this inactivation, and you have to redo again till this point, and still have to solve this issue.
Check at the end that all SPDD items are done:
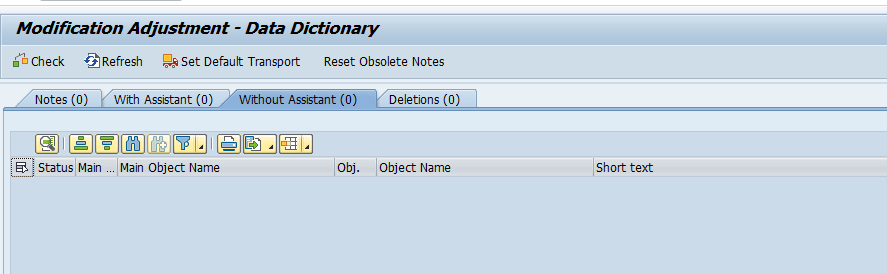
If the list is not empty, discuss with your basis team, before concluding if SPDD is done.
This is reason why you need to create screen shots/download the list in the beginning: it is gone now.
TRDIR and TADIR issues
For TRDIR and TADIR issues during upgrades, support packages, read this dedicated blog.
Background
More information can be found in OSS note 1970888 – How To: SPDD/SPAU handling during the Update/Upgrade.
Interesting is also OSS note 2286852 – SPAU/SPDD: Display report for reset candidates.
Quick start guide: 2554049 – SPAU/SPDD: Change of Quick Start Guide.
Bug fix and explanation notes
Bug fix and explanation notes:
- 2969181 – SPDD Transport Request is not released after the SUM Upgrade is finished
- 3082340 – SPDD/SPAU – Message no. 0M284 – It was not possible to lock all the objects for the note correction in one request.
- 3201712 – Adding DDLS object to DDIC Object type check
- 3391227 – User creation in the shadow instance for SPDD is not possible due to a missing table error