Changing directly data on an SAP table is the IT admin and IT auditors worst nightmare. This blog will show you the ways it can be done.
Questions that will be answered in this blog are:
- How can I directly edit tables?
- How can I prevent direct table editing?
- How can I detect direct table editing?
Overview of methods
- Function module SE16N_INTERFACE
- Debug & replace
- SE16N_EMERGENCY mode
- Re-enable &sap_edit for SE16N
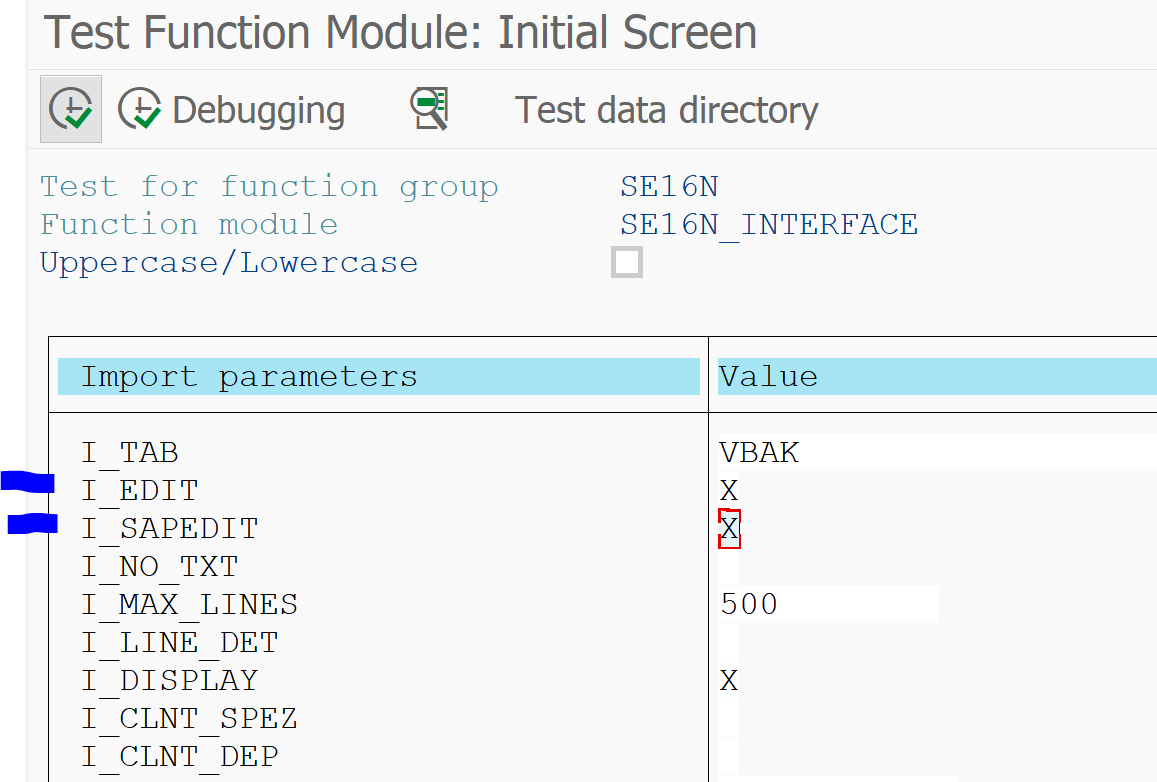
Direct table editing method 1: function module SE16N_INTERFACE
This method is available in the SAP S4HANA system. Start with transaction SE37 and key in function module SE16N_INTERFACE. Now press the test button. In this demo we will change dates for sales order table VBAK. In the SE37 test screen enter table VBAK and very important put X in the I_EDIT and I_SAPEDIT fields.
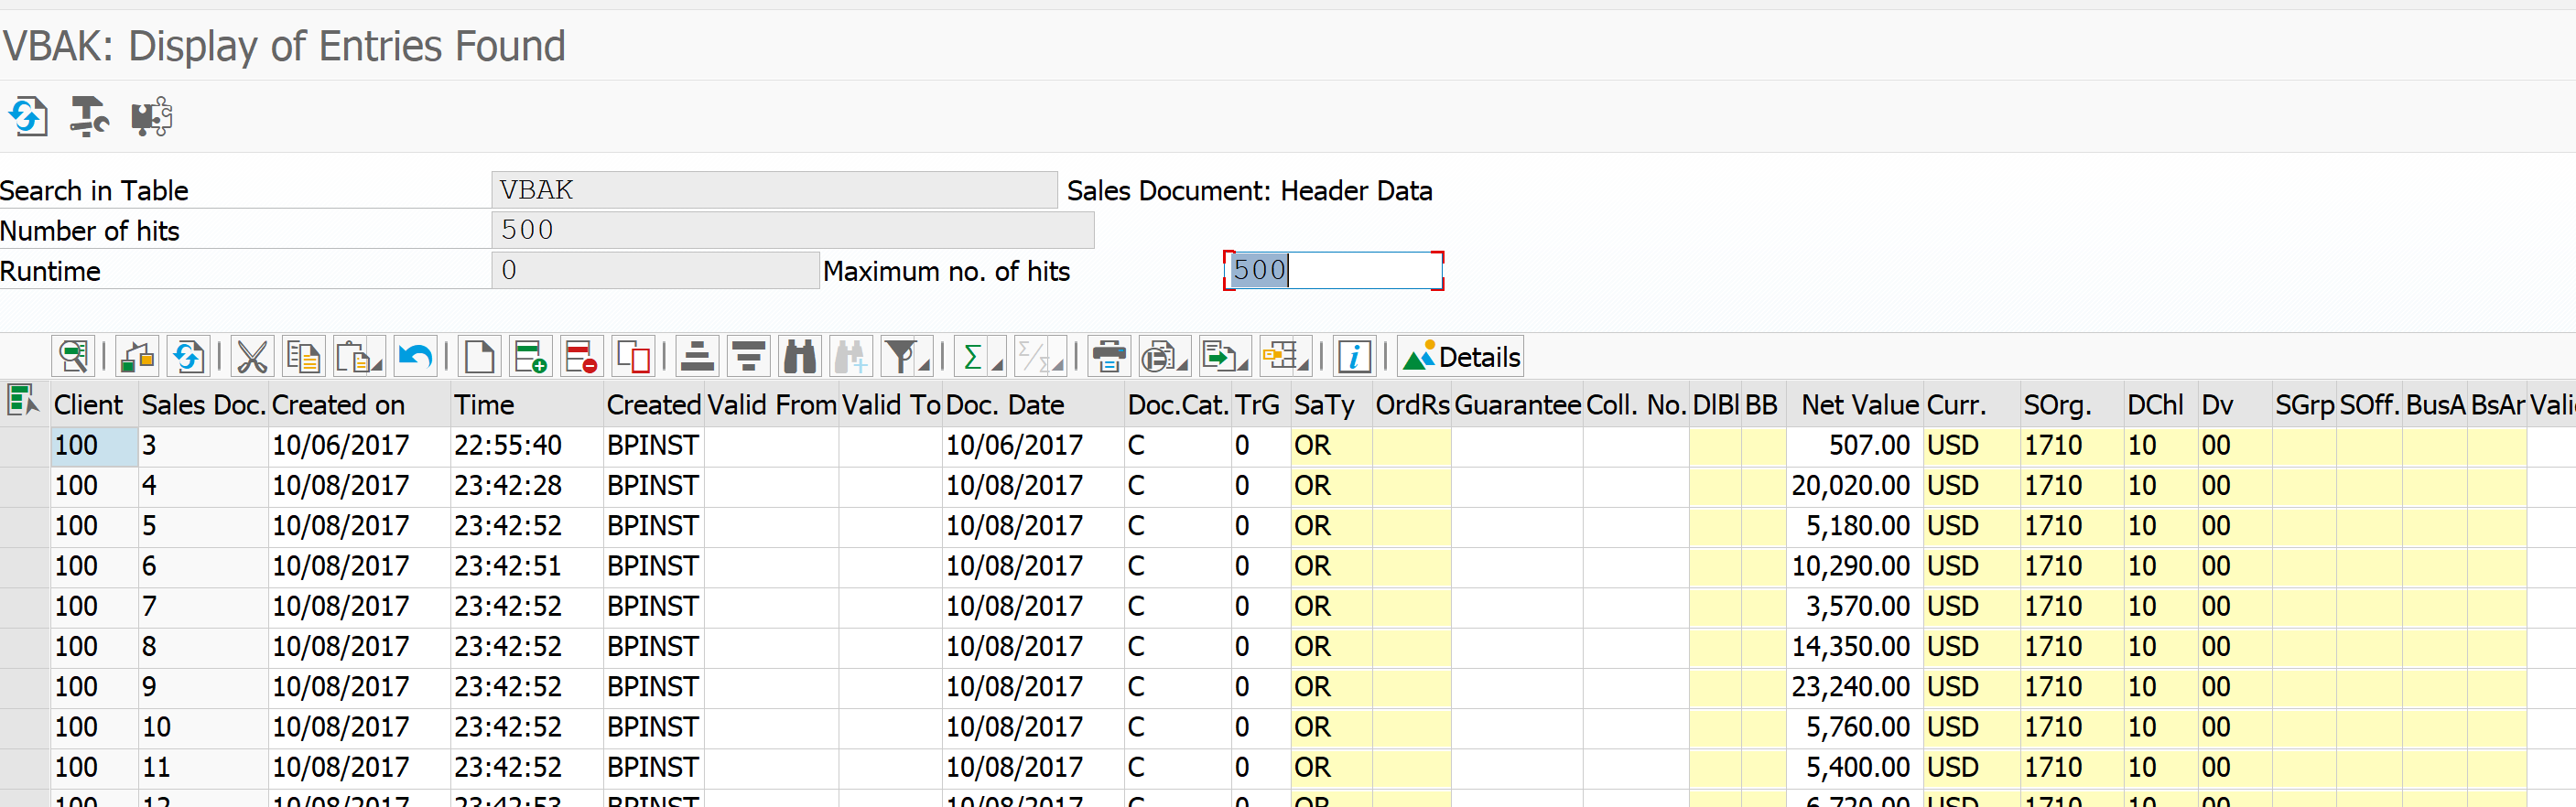
Now hit execute and voila: you are in direct edit mode:
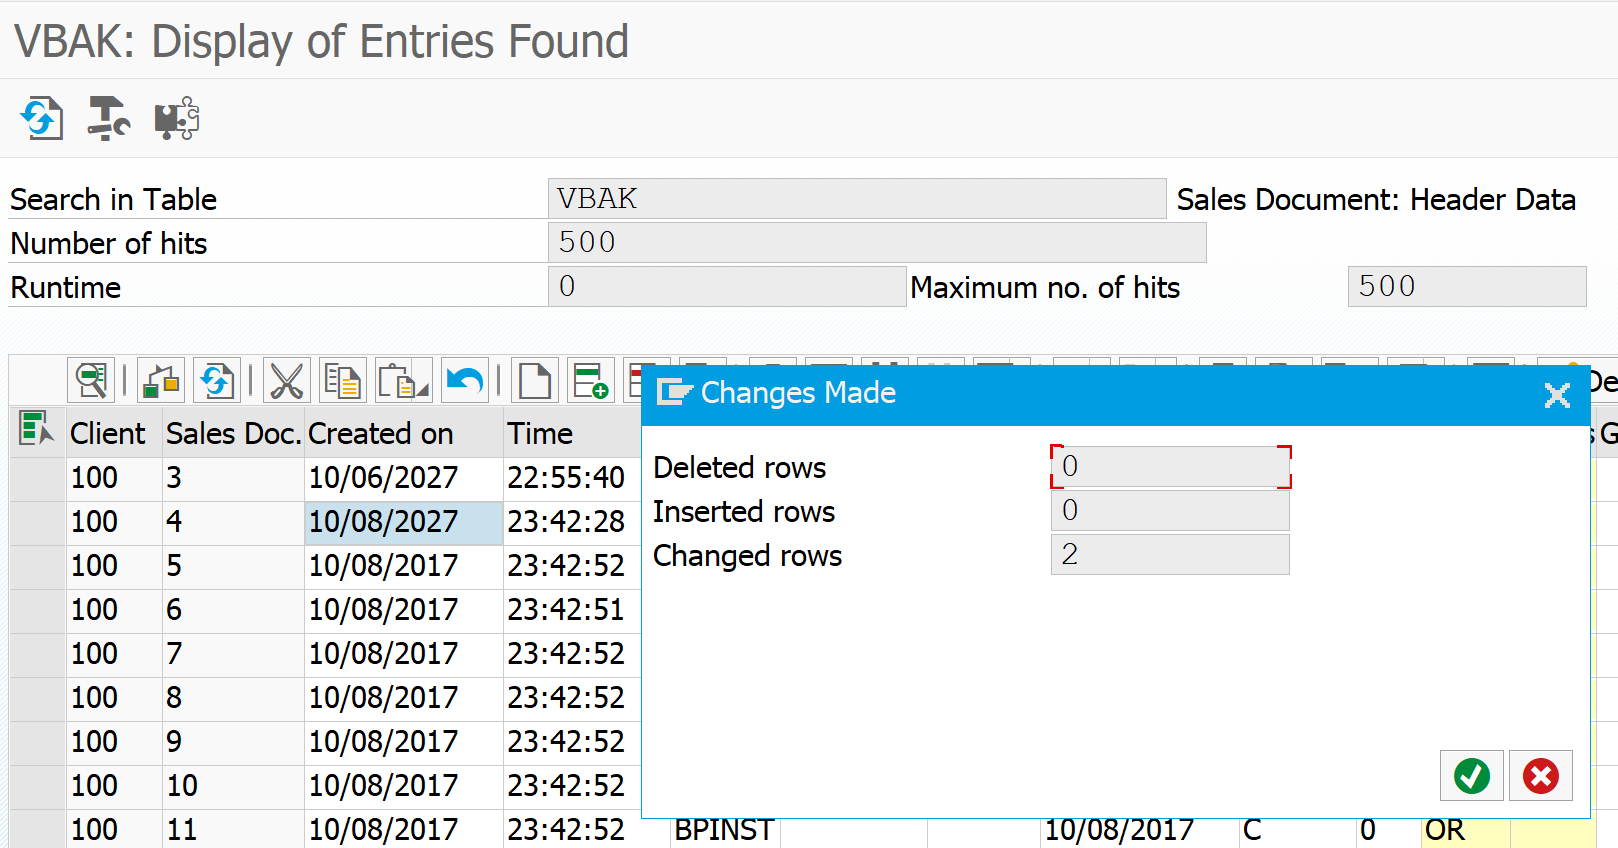
Now we change a few values (date to the year 2027…) and press save:
Data is changed.
Detection of this method: audit logging. In audit logging you can see the user started SE37 and then used report RS_TEST_FRAME_CALL, but you cannot see which module was done, neither is the data change logged.
Prevention of this method:
- Debug/replace is needed to change the data: don’t hand out debug/replace.
- Deny access to this function module.
Direct table editing method 2: debug/replace
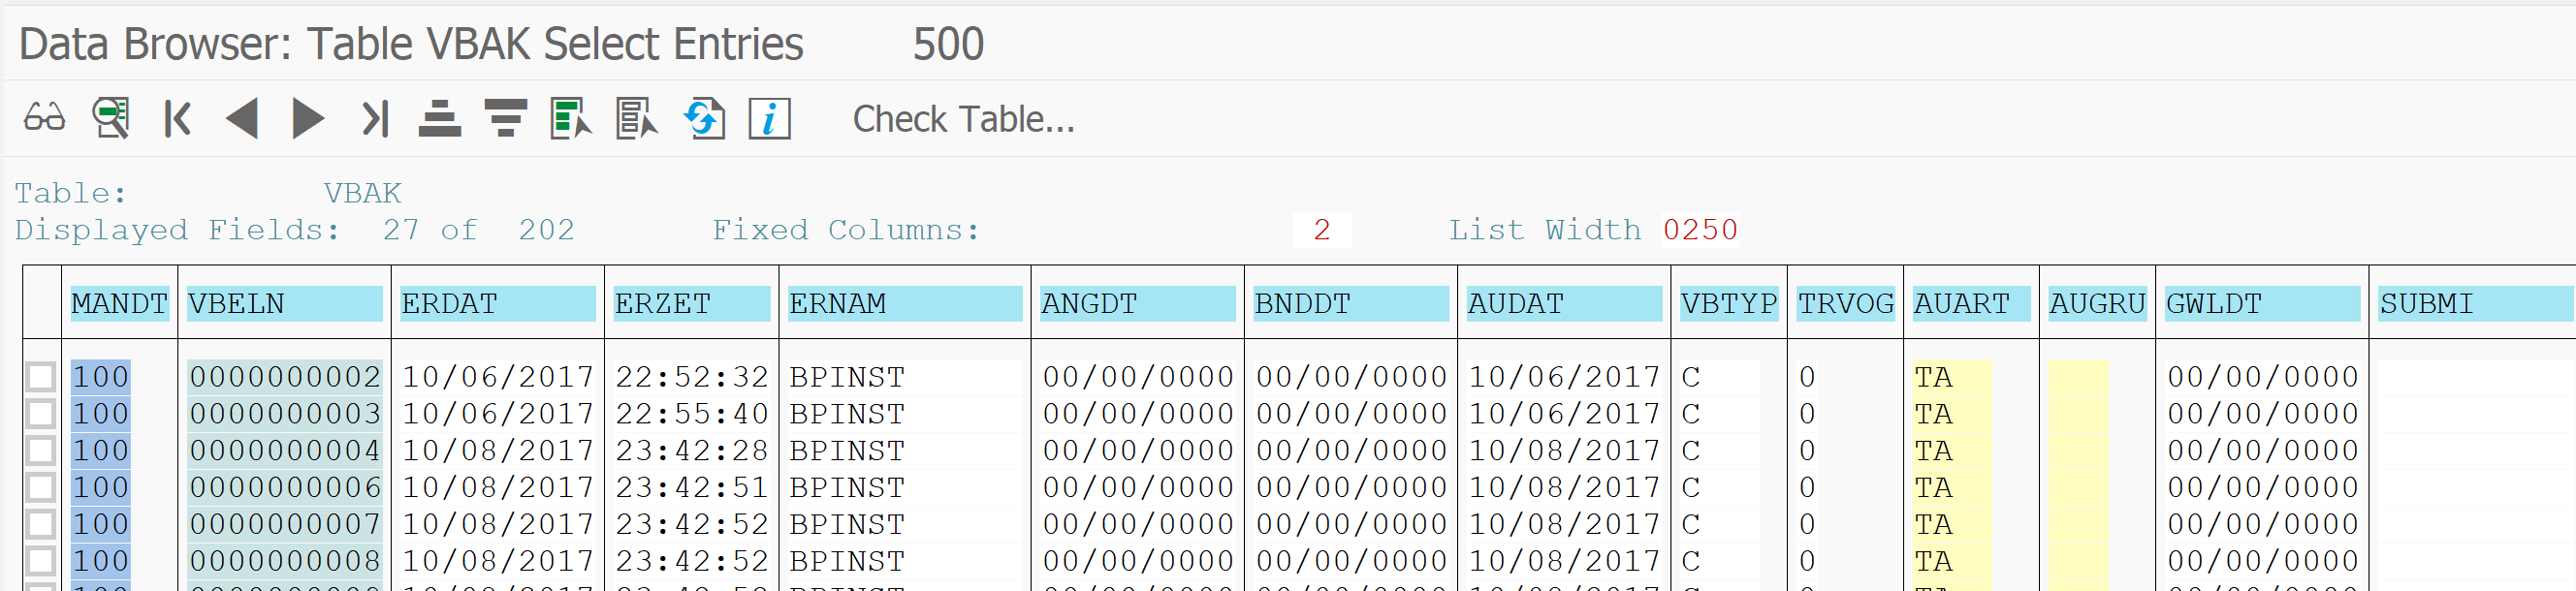
Start transaction SE16 and show the data of the table to edit. Example in this case VBAK data:
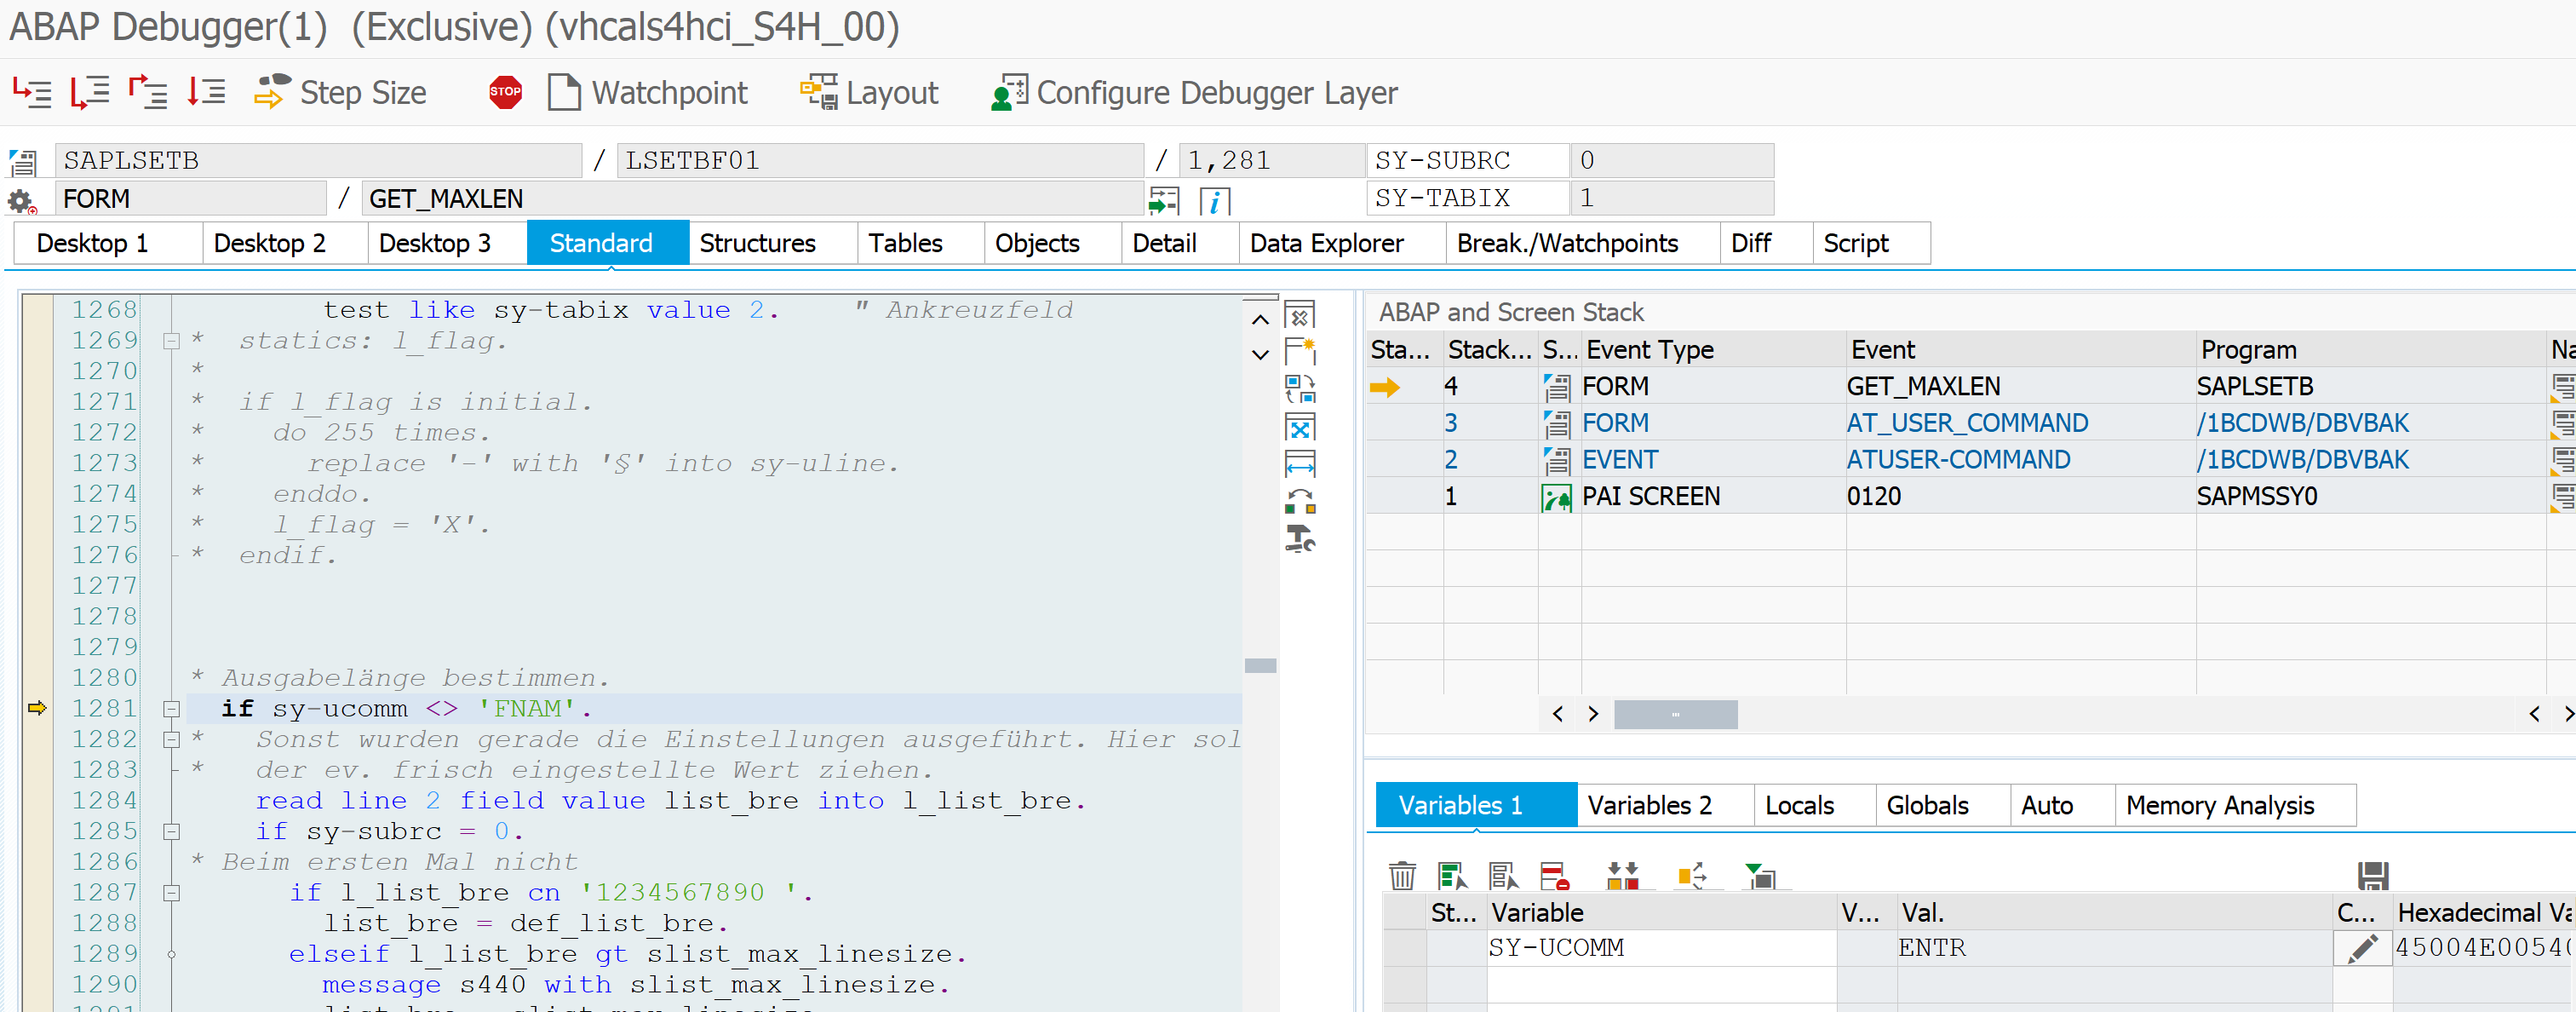
Now select a line and put /h for debugging in the command line input. Press enter and the debug screen will open. Double click on the SY-UCOMM field:
In the variables screen now change the value ENTR (for the enter command you gave) to value AEN2 (command to change). Make sure the value is accepted. Now hit F8 to continue. And voila: edit mode:
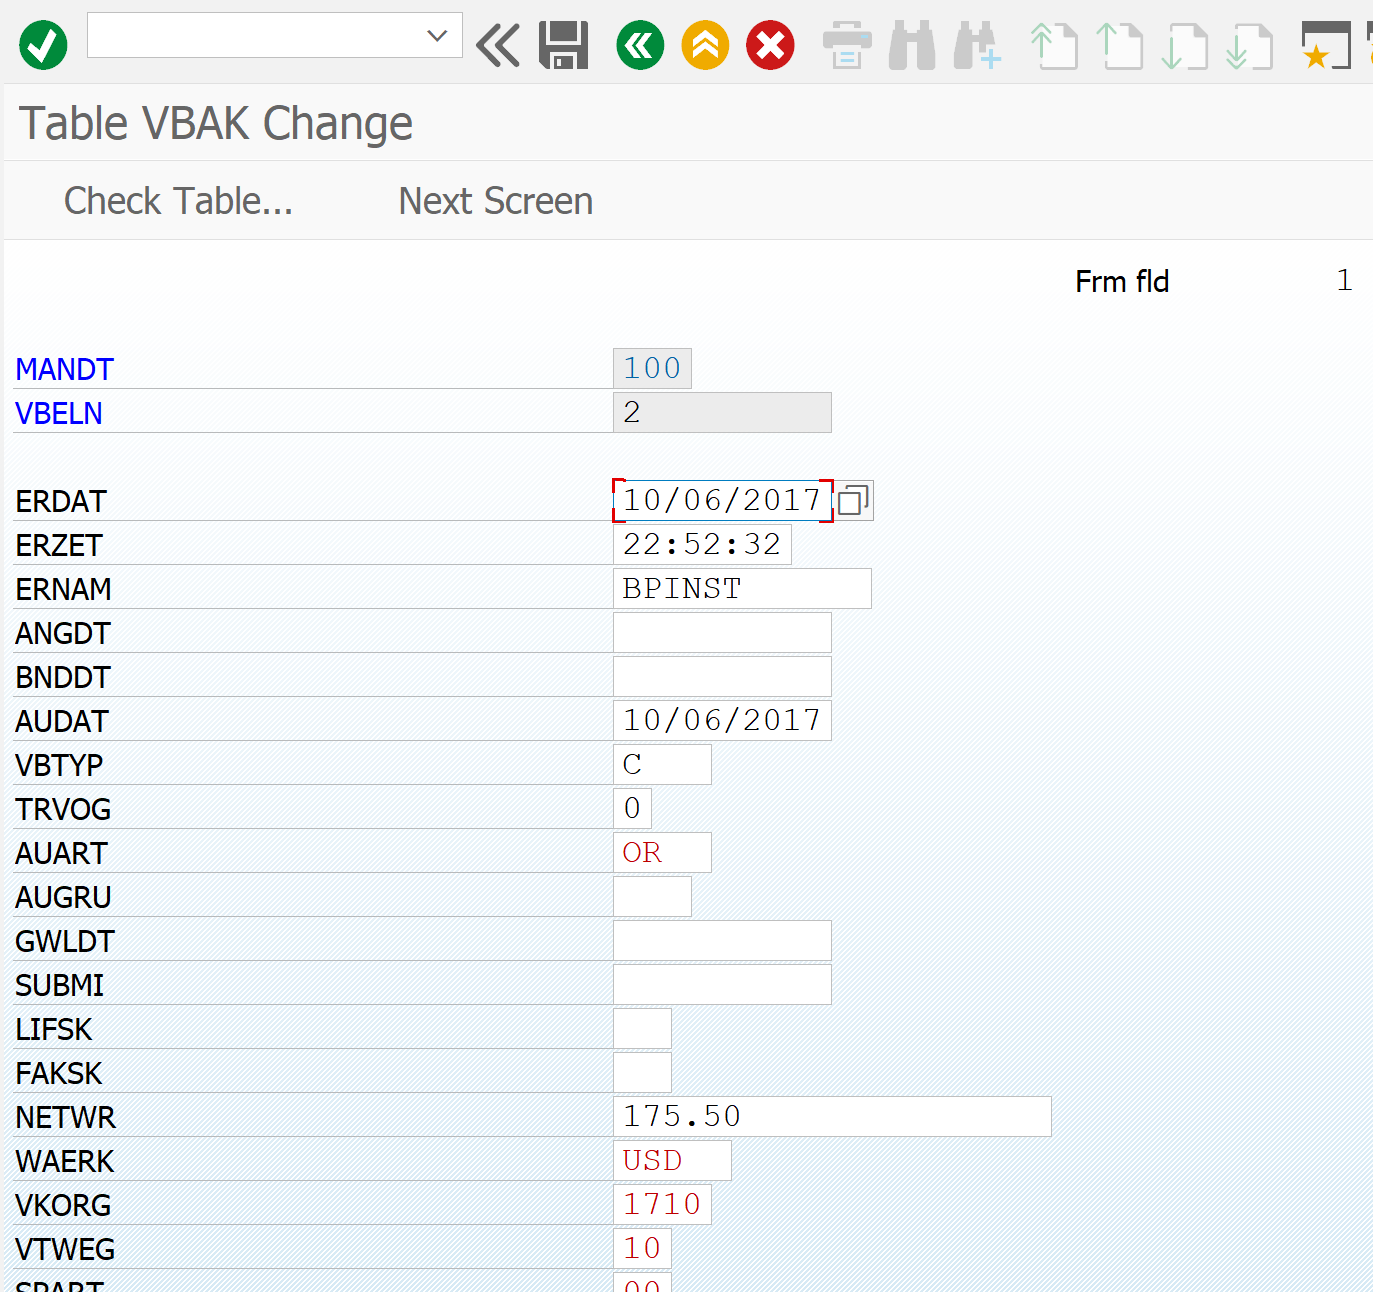
Change the values (dates in this example) and press save:
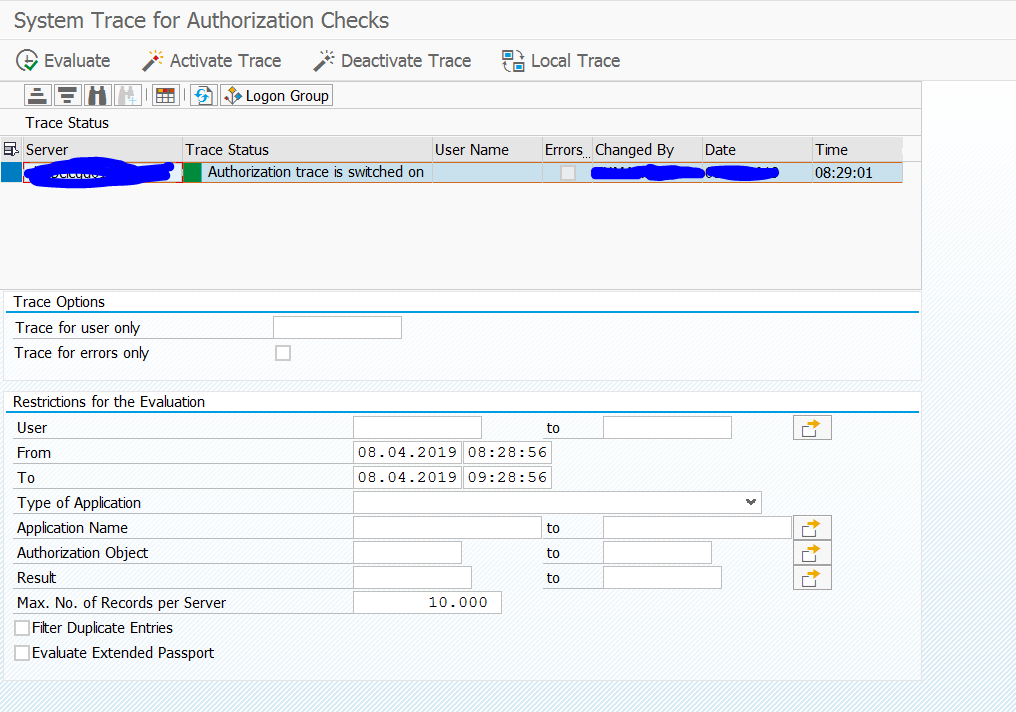
How to detect this method: in the SAP audit log (activation of audit log is explained in this blog) show the change in debug/replace mode:
Prevention of this method: don’t hand out debug/replace rights.
And configure the audit log for detection: 3226223 – How to monitor debug activities in SAP Netweaver.
Direct table editing method 3: SE16N emergency mode
In newer SAP netweaver releases there is a new SE16N emergency mode which can be started with transaction SE16N_EMERGENCY. Read all the details in this special blog on this topic.
Direct table editing method 4: re-enable &sap_edit again in SE16N and use it
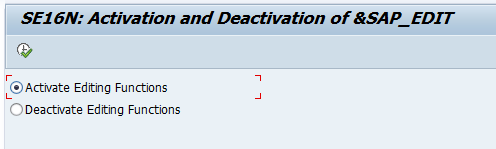
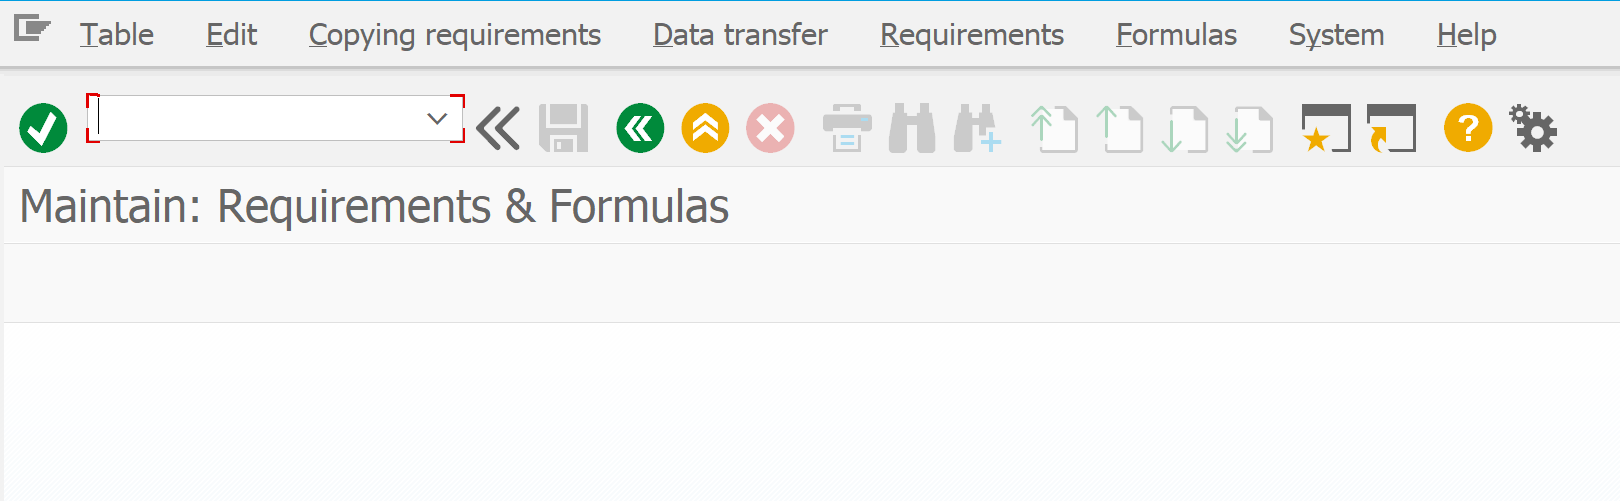
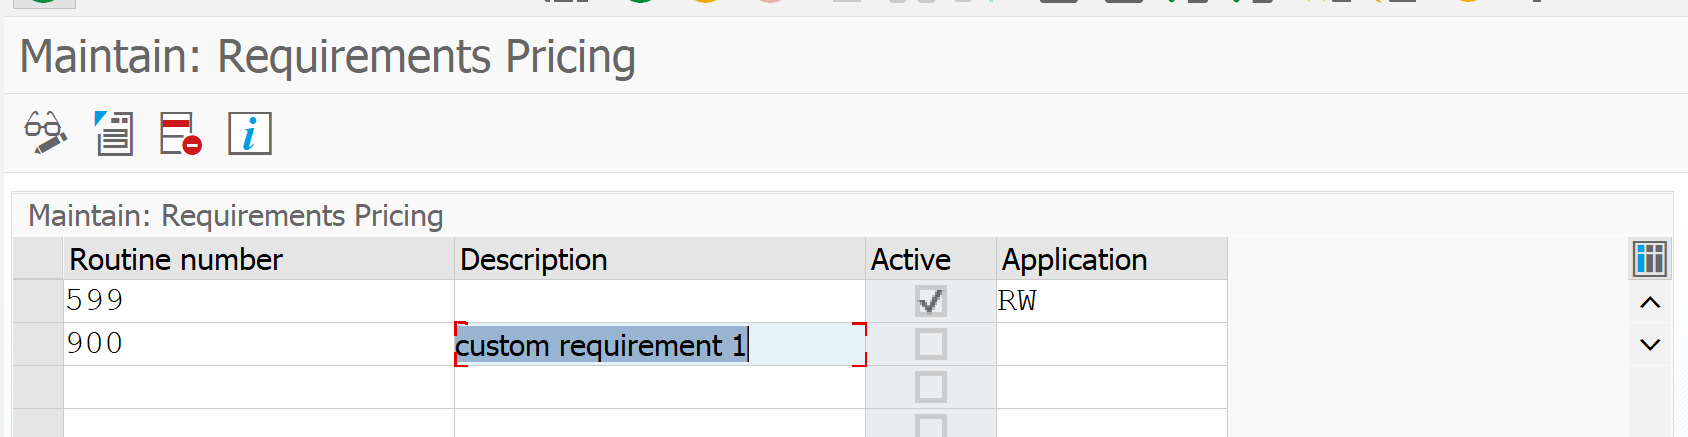
Apply OSS note 1468636 – CO-OM tools: SE16N: Use of &SAP_EDIT. This seems old, but it is still valid for all S4HANA releases as well. After the note is installed run program RKSE16N_EDIT and activate the function:
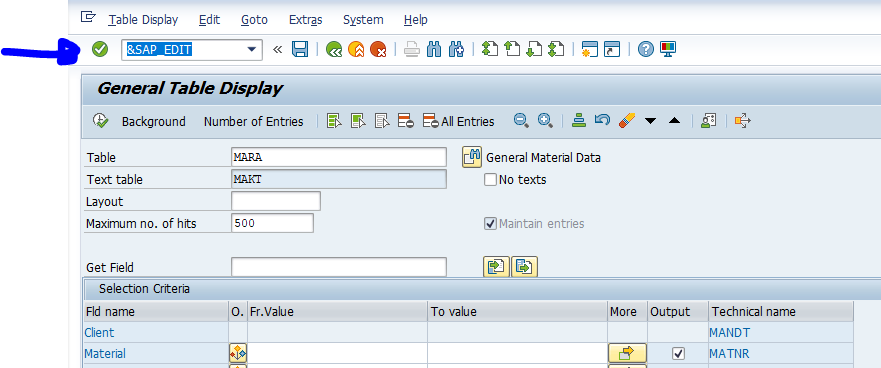
Now start SE16N and select your inputs. Before hitting the execute button, enter the command &sap_edit:
Only now press execute. The result is fully editable table.
Audit log detection
Apply/configure OSS note 3140539 – SAL | New event definition for change access in SE16N for detection of table changes in the audit log.
Also check these notes: