The SLG1 application log is a powerful mechanism to support team in SAP systems.
This blog will explain how you can write to the application log in your own custom ABAP code using ABAP code below.
It is recommended to create one single SE24 ABAP class for the application log that can be re-used in all your custom code.
Instantiation method
First method to create is the instantiation method:
   DATA: zls_log        TYPE bal_s_log,
         zlt_log_handle TYPE bal_t_logh,
         zlt_message    TYPE bal_t_msg.

      zls_log-object     = ziv_object.
      zls_log-subobject  = ziv_subobj.
      zls_log-extnumber  = ziv_extnumber.
      zls_log-aluser     = sy-uname.
      zls_log-alprog     = sy-repid.


 CALL FUNCTION 'BAL_LOG_CREATE'
      EXPORTING
        i_s_log                 = zis_log
      IMPORTING
        e_log_handle            = zgv_log_handle
      EXCEPTIONS
        log_header_inconsistent = 1
        OTHERS                  = 2.
As input you have to give SLG1 object name and sub object name. You can re-use existing or create new custom one in transaction SLG0.
Now you have a log handler.
Add the messages
Now you can add a method to add one or more messages, re-using the log handler:
zls_msg      TYPE bal_s_msg,

      CALL FUNCTION 'BAL_LOG_MSG_ADD'
        EXPORTING
          i_log_handle     = zgv_log_handle
          i_s_msg          = zls_msg
        EXCEPTIONS
          log_not_found    = 1
          msg_inconsistent = 2
          log_is_full      = 3
          OTHERS           = 4.
Save the log
Create a method for saving the application log, again re-using the log handle:
    CALL FUNCTION 'BAL_DB_SAVE'
      EXPORTING
        i_t_log_handle   = zlt_log_handle
      EXCEPTIONS
        log_not_found    = 1
        save_not_allowed = 2
        numbering_error  = 3
        OTHERS           = 4.
Set up once and re-use
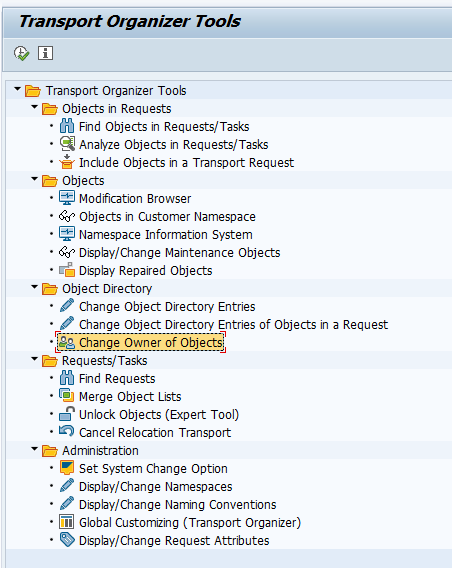
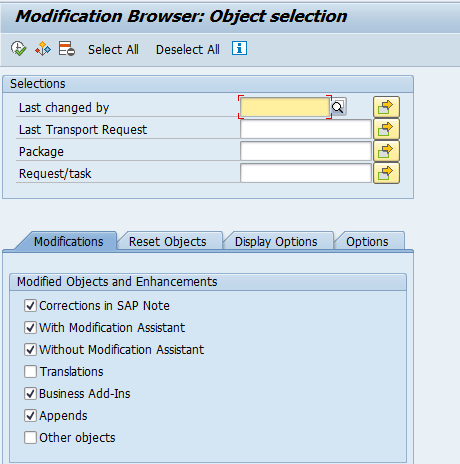
Set up the application logging helper class once in SE24 and tell all your developers to re-use it. You might find out that you developer already used the function modules above a lot in their Z code. This can be found with the ABAP code scanner tool. Check case by case when it makes sense to swap to the central helper class.
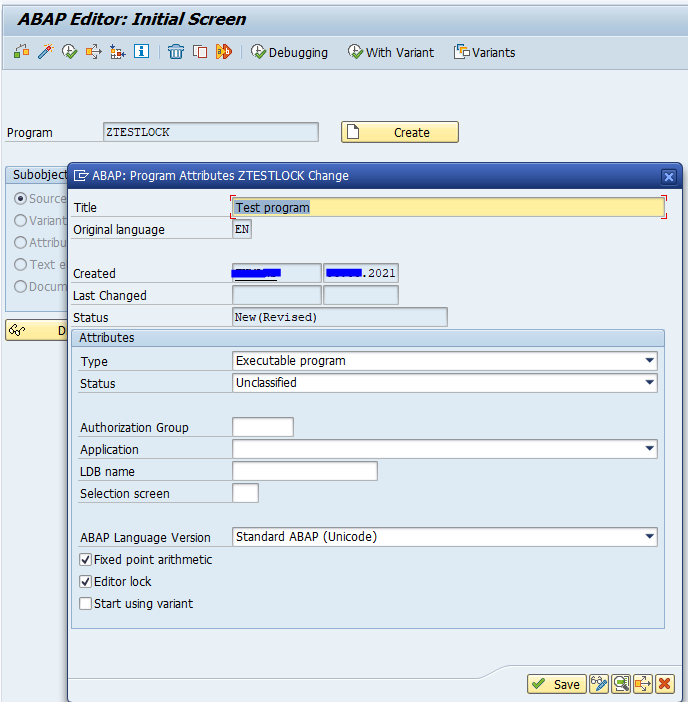
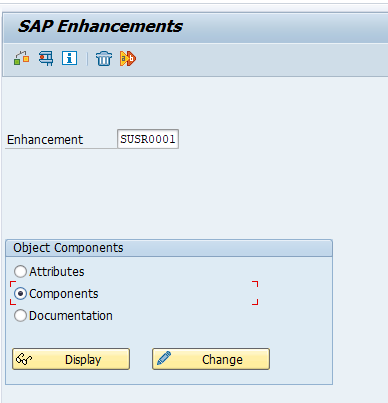
New Z application log objects
Using transaction SLG0 you can set up custom application log objects and sub-objects.