This blog will explain the maintenance of logical file names.
Questions that will be answered in this blog are:
- Why use logical file names?
- How to setup logical paths and logical file names?
- Which variables can be used in logical file names and logical paths?
- What is new in transaction SFILE?
Why use logical file name?
The use of a logical file name in any ABAP keeps the location and name name of the file constant from a logical function perspective. The actual implementation of the file location can then be maintained by the basis team. If they want to move files around, they can do so, as long as they also update the logical files. Also this way an ABAP developer does not need to worry in case of any OS switch (for example from Windows to Linux).
The names are the same on development, QA and production system. The basis team can choose to have different file structures on each system. For example by including the system ID in the folder name.
Maintaining logical file path
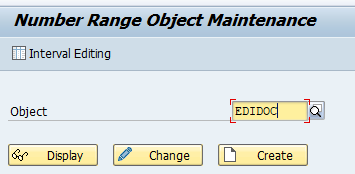
To maintain logical file names, start transaction FILE:
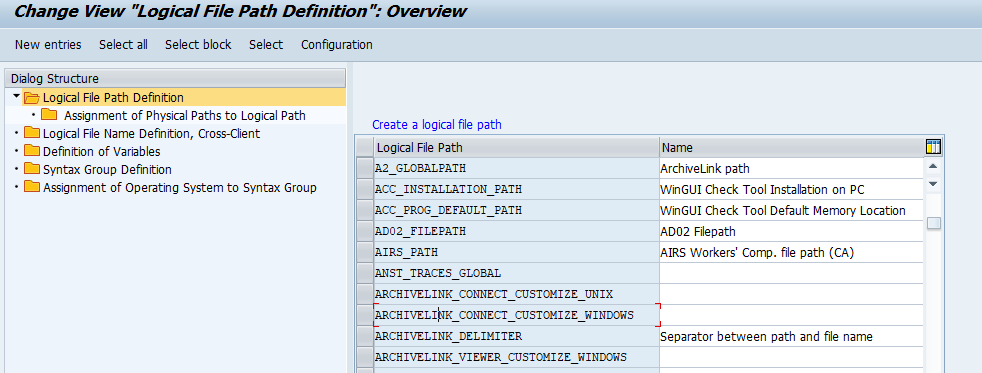
With new entries, you can add new logical file path.
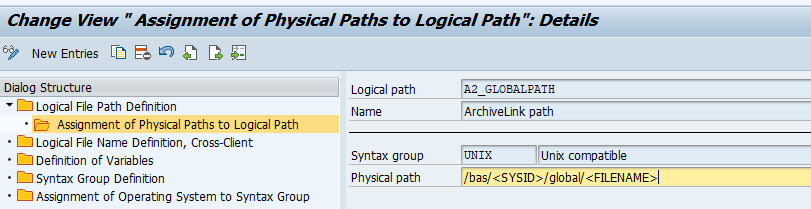
We will use A2_GLOBALPATH here as example. Select the entry and click on Assignment of physical path to logical path:
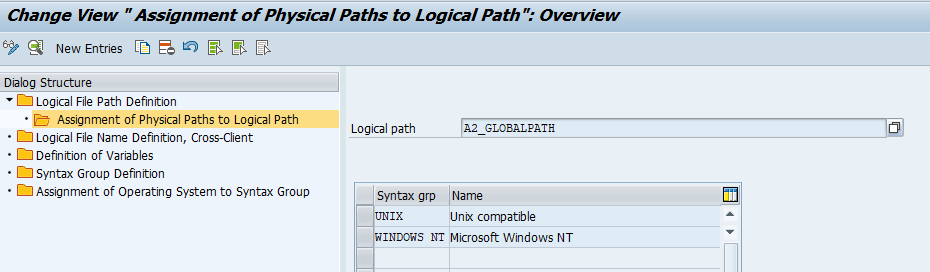
Select the operating system to see the details:
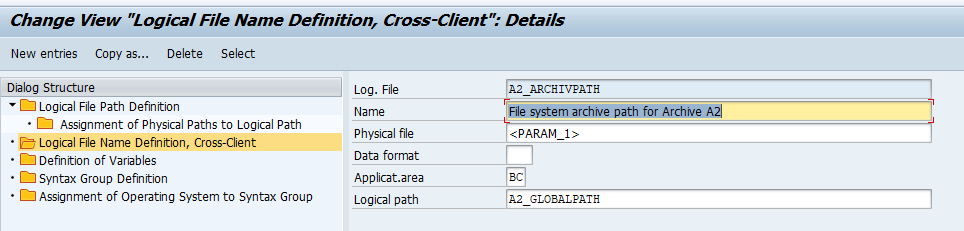
Logical file names
Logical file names are also maintained with transaction FILE:
Parameters in naming
The following parameters can be used in the naming conventions:
| Parameter | Meaning |
|---|---|
| <OPSYS> | Operating system in function module parameter |
| <INSTANCE> | Application Instance |
| <SYSID> | Application name in accordance with system field SY-SYSID. |
| <DBSYS> | Database system in accordance with system field SY-DBSYS |
| <SAPRL> | Release in accordance with system field SY-SAPRL |
| <HOST> | Host name in accordance with system field SY-HOST |
| <CLIENT> | Client in accordance with system field SY-MANDT |
| <LANGUAGE> | Logon language in accordance with system field SY-LANGU |
| <DATE> | Date in accordance with system field SY-DATUM |
| <YEAR> | Year in accordance with system field SY-DATUM, four characters |
| <SYEAR> | Year in accordance with system field SY-DATUM, two characters |
| <MONTH> | Month in accordance with system field SY-DATUM |
| <DAY> | Day in accordance with system field SY-DATUM |
| <WEEKDAY> | Weekday in accordance with system field SY-FDAYW |
| <TIME> | Time in accordance with system field SY-UZEIT |
| <STIME> | Hour and minute in accordance with system field SY-UZEIT |
| <HOUR> | Hour in accordance with system field SY-UZEIT |
| <MINUTE> | Minute in accordance with system field SY-UZEIT |
| <SECOND> | Seconds in accordance with system field SY-UZEIT |
| <PARAM_1> | External parameter 1 passed in function call |
| <PARAM_2> | External parameter 2 passed in function call |
| <PARAM_3> | External parameter 3 passed in function call |
| <P=name> | Value of a profile parameter in the current system |
| <V=name> | Value of a variable in the variable table |
| <F=name> | Return value of a function module |
Transaction SFILE
Transaction SFILE is a new maintenance transaction. It is available as of S4HANA 1610. The main functions are the same as FILE. Main new function is the mass download and upload of definitions.
More background on SFILE: see OSS note 2370836 – FAQ | File access management with transaction SFILE.
Bug fix OSS notes: