In the previous blog we have exposed a web service. Now we will show how to consume a web service in ABAP. As example we will consume the web service we exposed in the previous blog. This blog assumes you have configured the basic web service SOAP runtime (if not, read this blog).
Questions that will be answered in the blog are:
- How to generate a web service consumption proxy?
- How to setup SOAMANAGER for web service consumption?
- How to test the web service consumption setup in SE80?
- How to use the generated web service consumption proxy in ABAP code?
- What are the authorisation and security aspects for web service consumption?
Generating web service consumption proxy
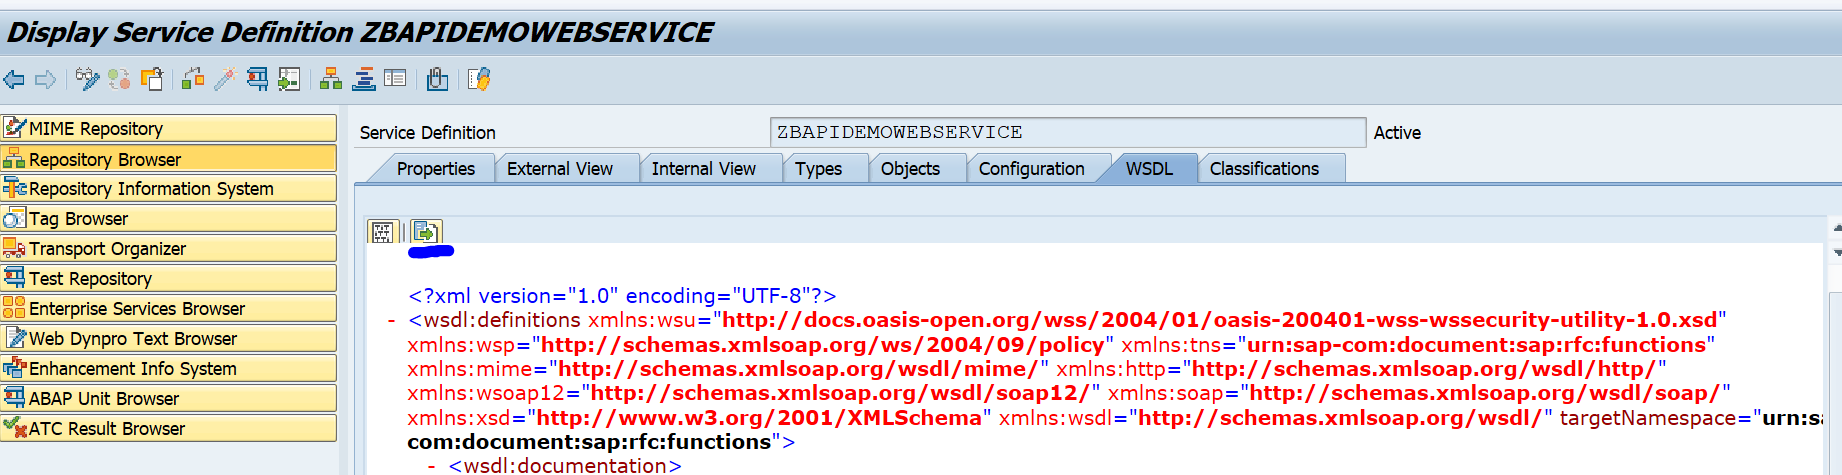
Start in SE80 by exporting the WSDL file from your previously generated webservice. Goto the WSDL tab and press export to save the WSDL file locally:
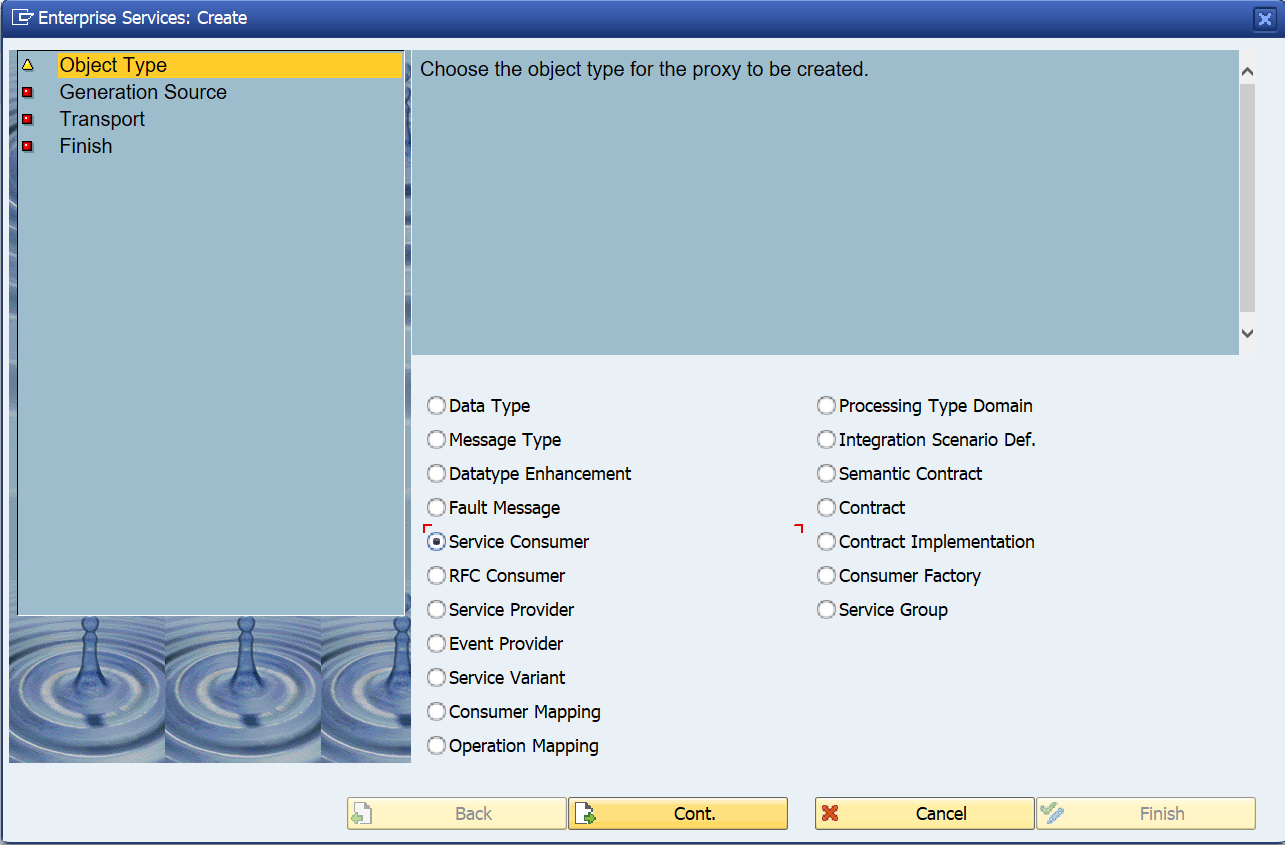
In SE80 in your package select Enterprise Services and right click on it to create a new service:

In the object type screen select Service Consumer:
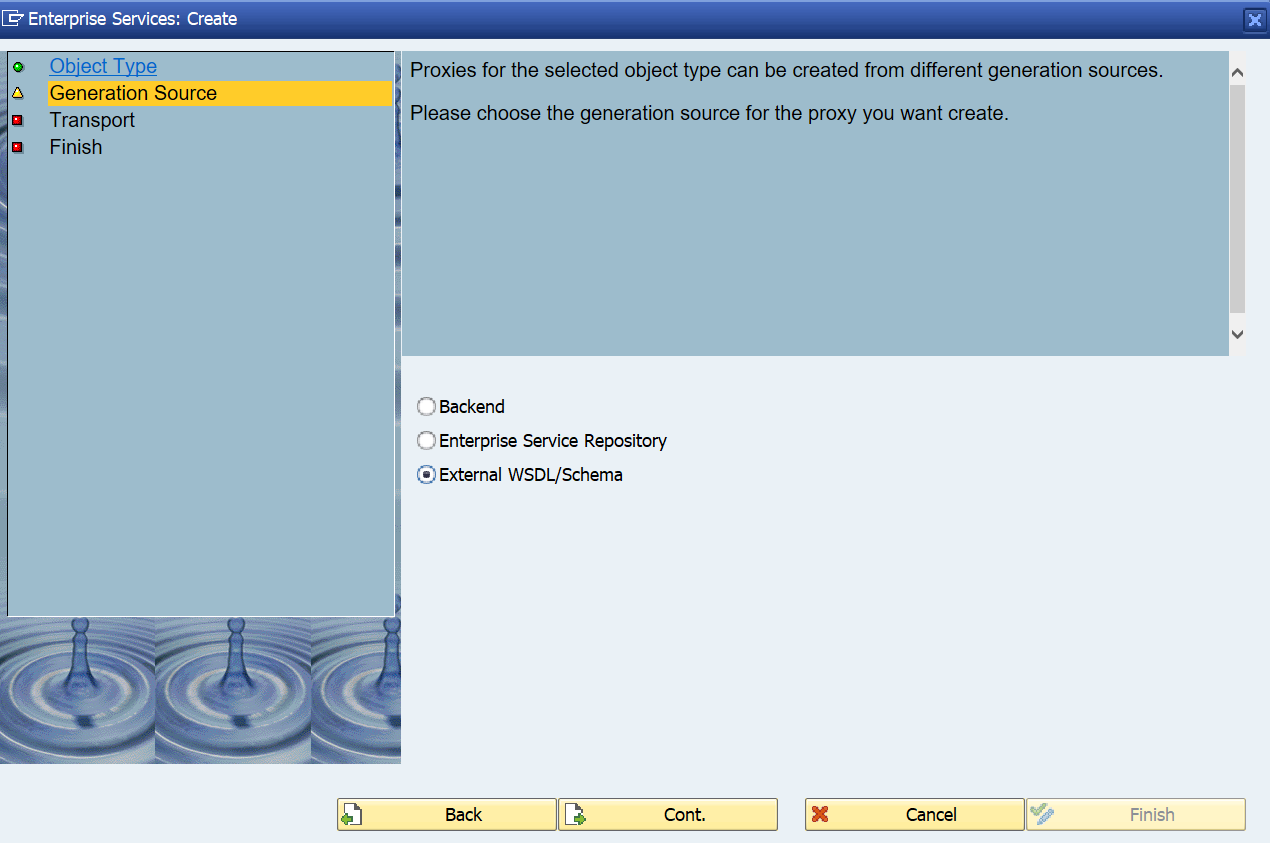
Now select External WSDL/schema:
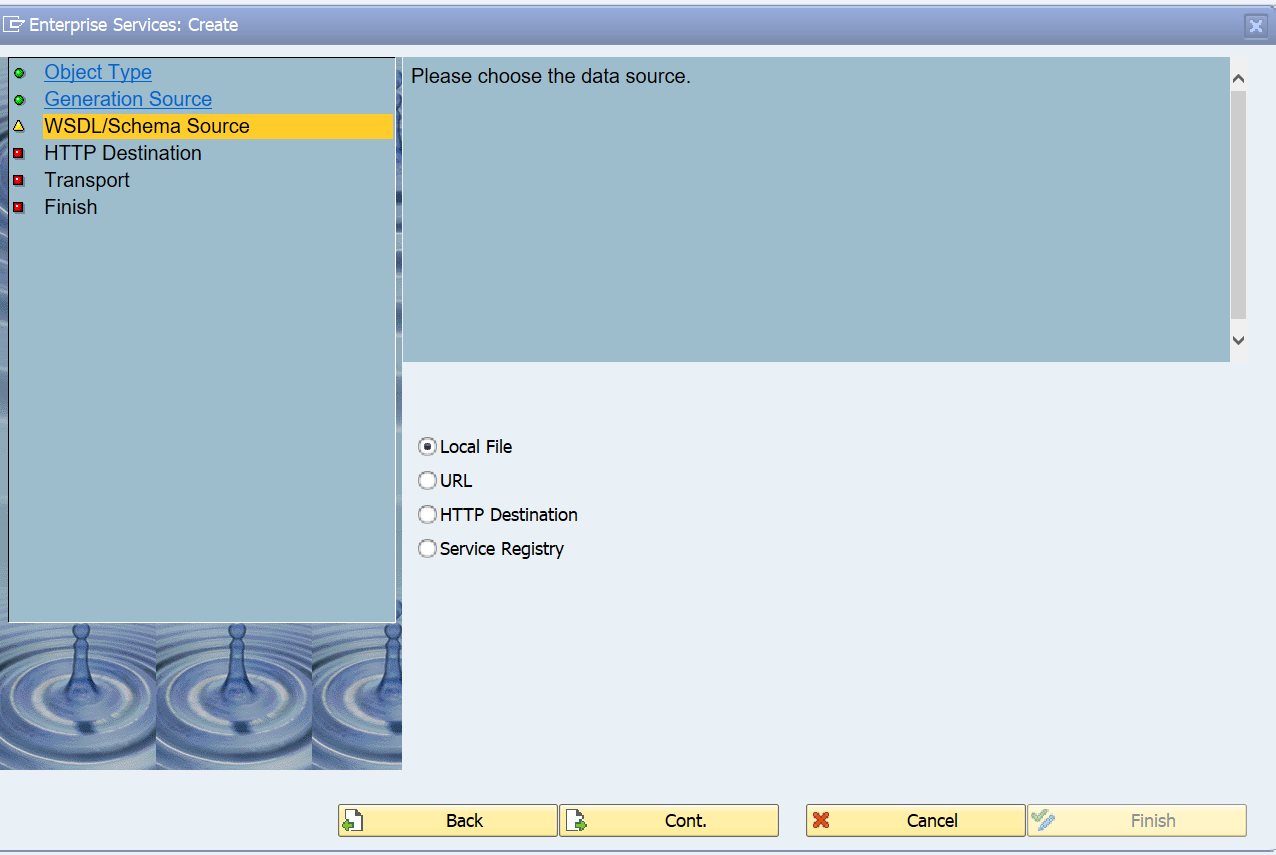
Select local file:
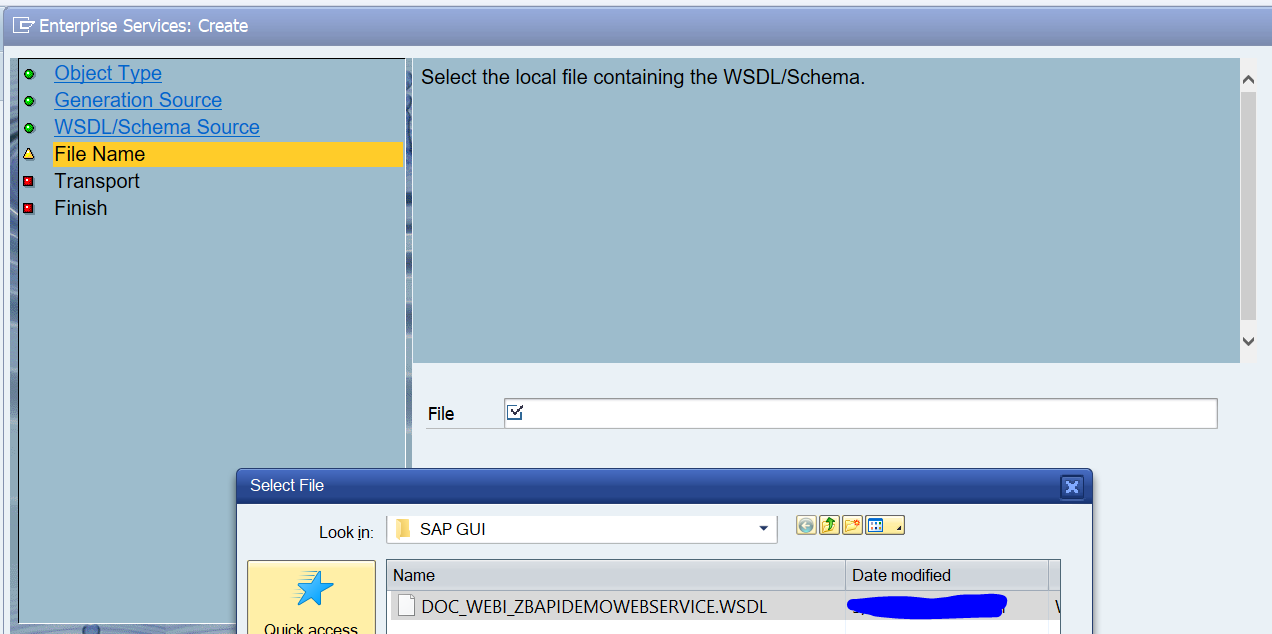
Select the local file:
Select the package, transport and use Z as prefix:
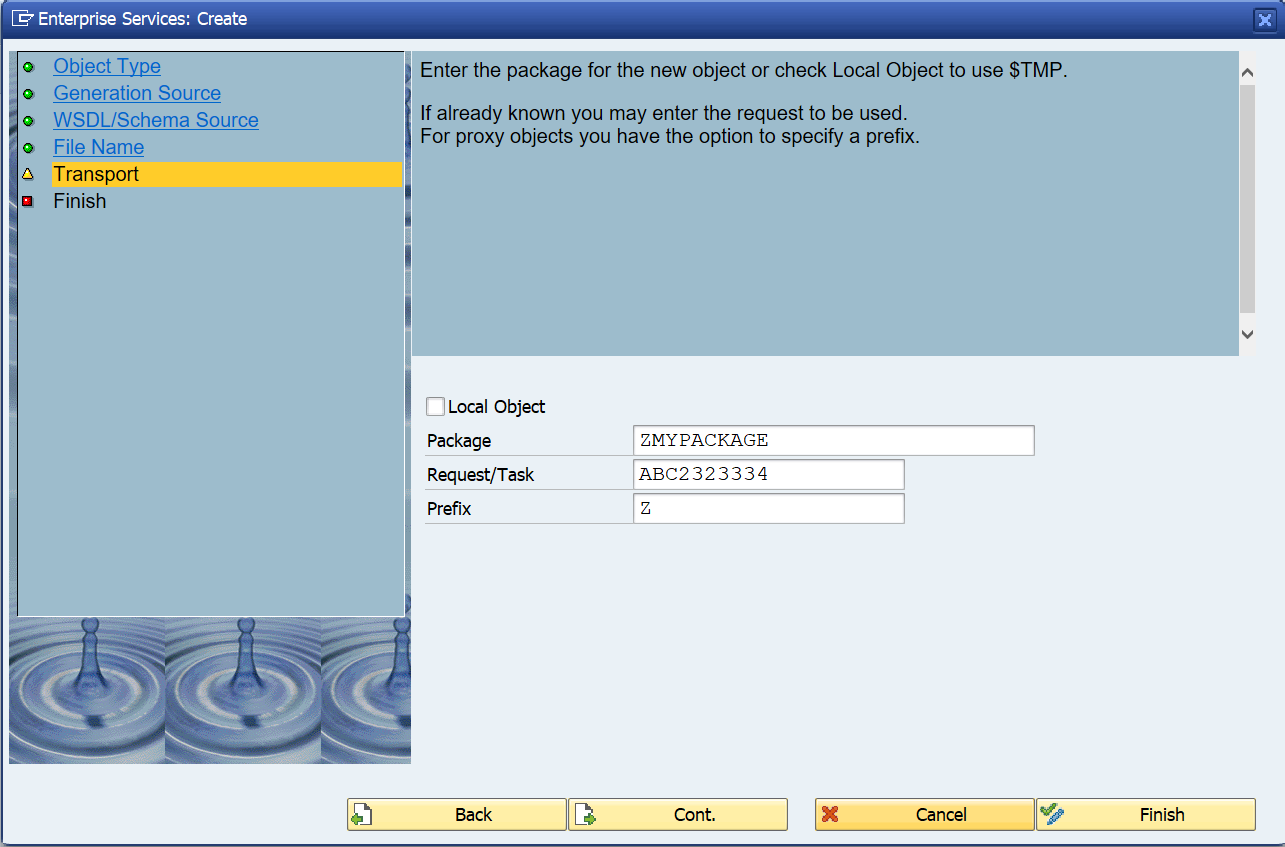
Then select Finish to complete the roadmap.
Wait for the system to compile the software:
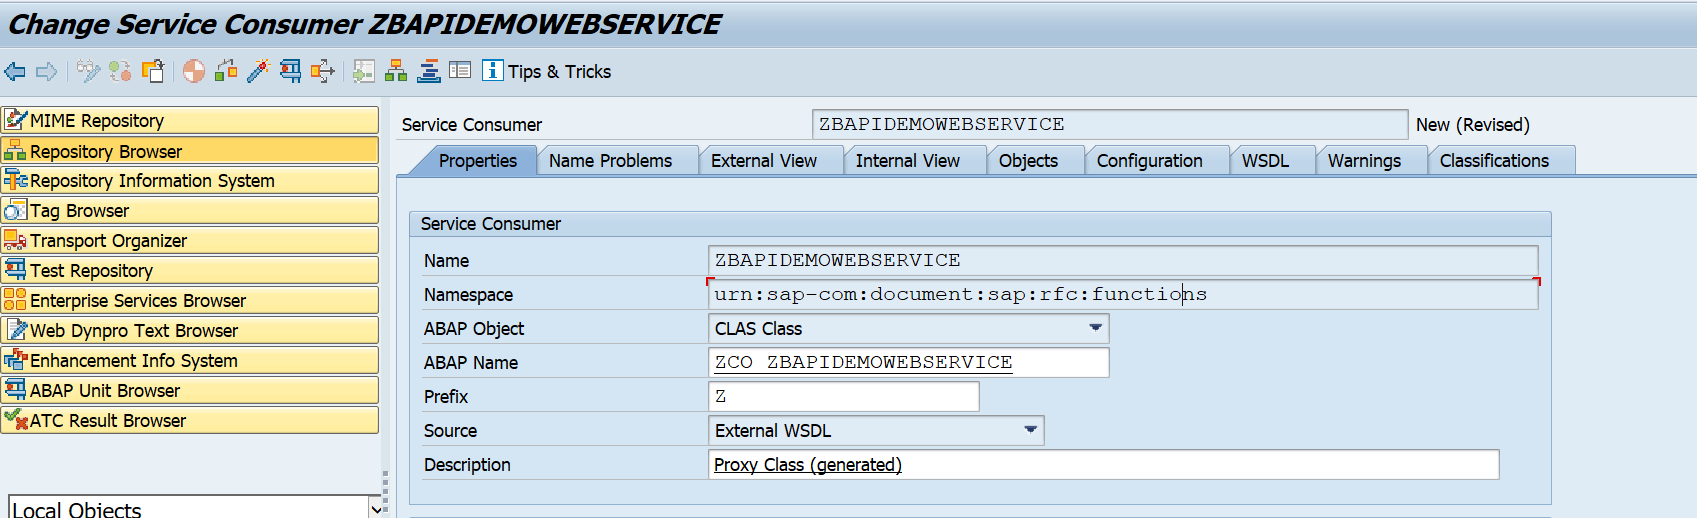
Save and Activate. Now the design time proxy is ready.
SOAMANAGER settings
In the previous steps we have setup the design time proxy. Now we add the runtime artefacts as well.
Now goto transaction SOAMANAGER:
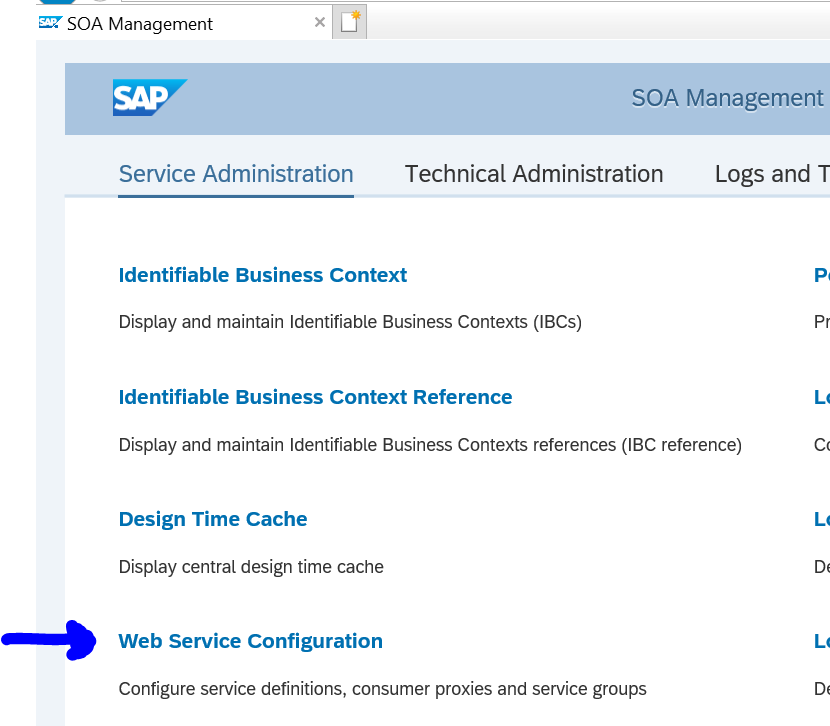
Select Web Service Configuration, and search for the newly created design time object:
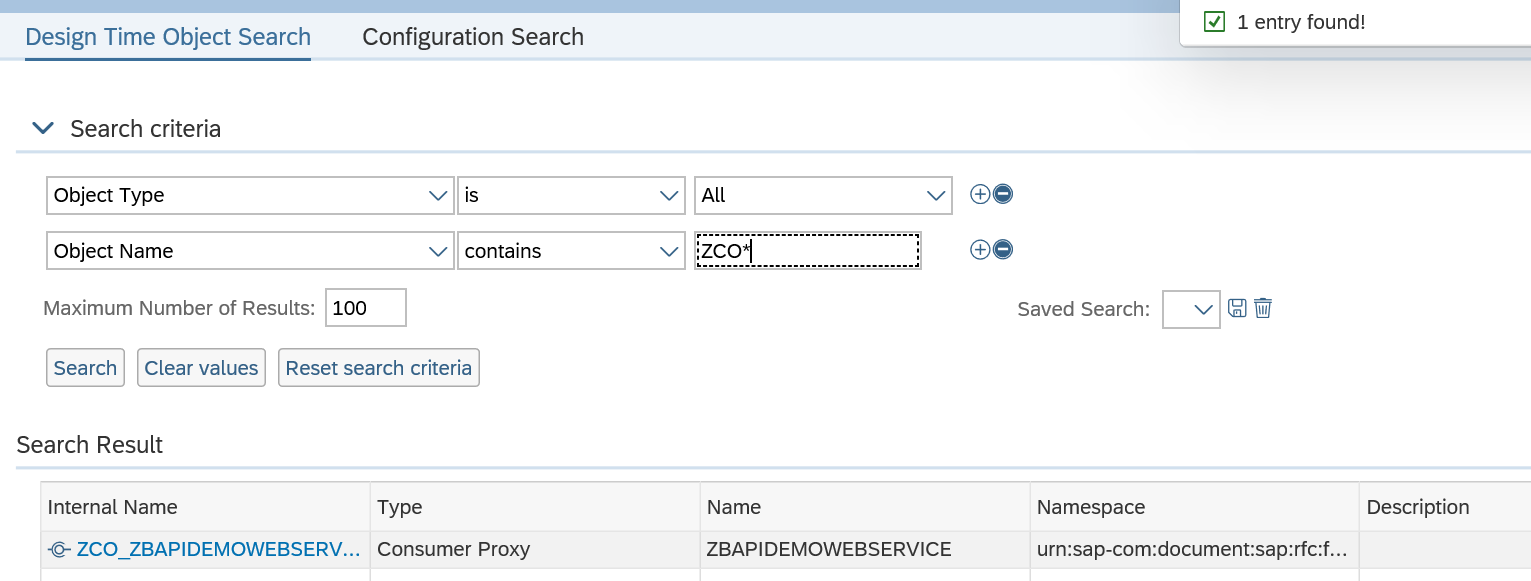
Click on the blue internal name to reach the configuration screen:
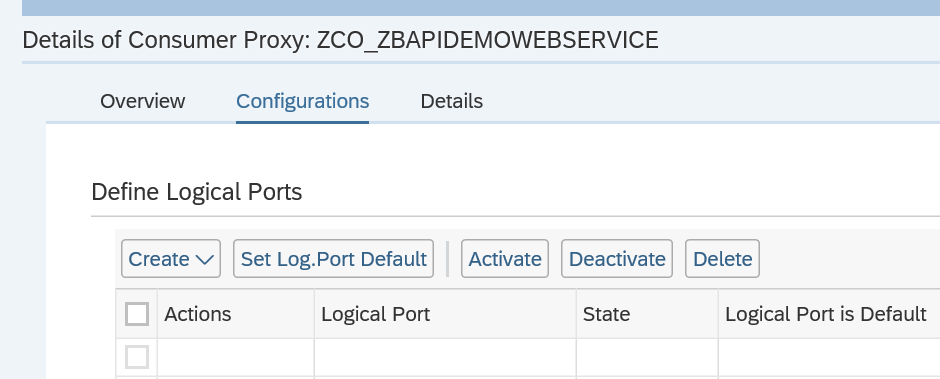
On the screen press Create and then manual configuration:
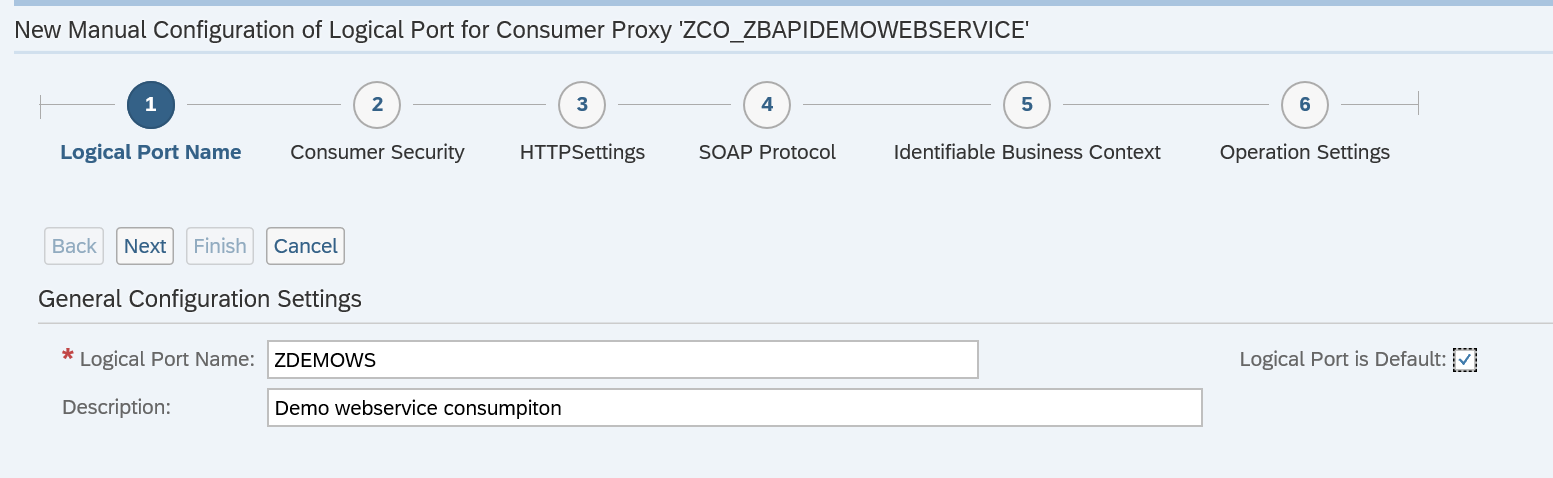
Give the logical port a name and description and mark the logical port is Default tickbox to true. Then continue with the roadmap.
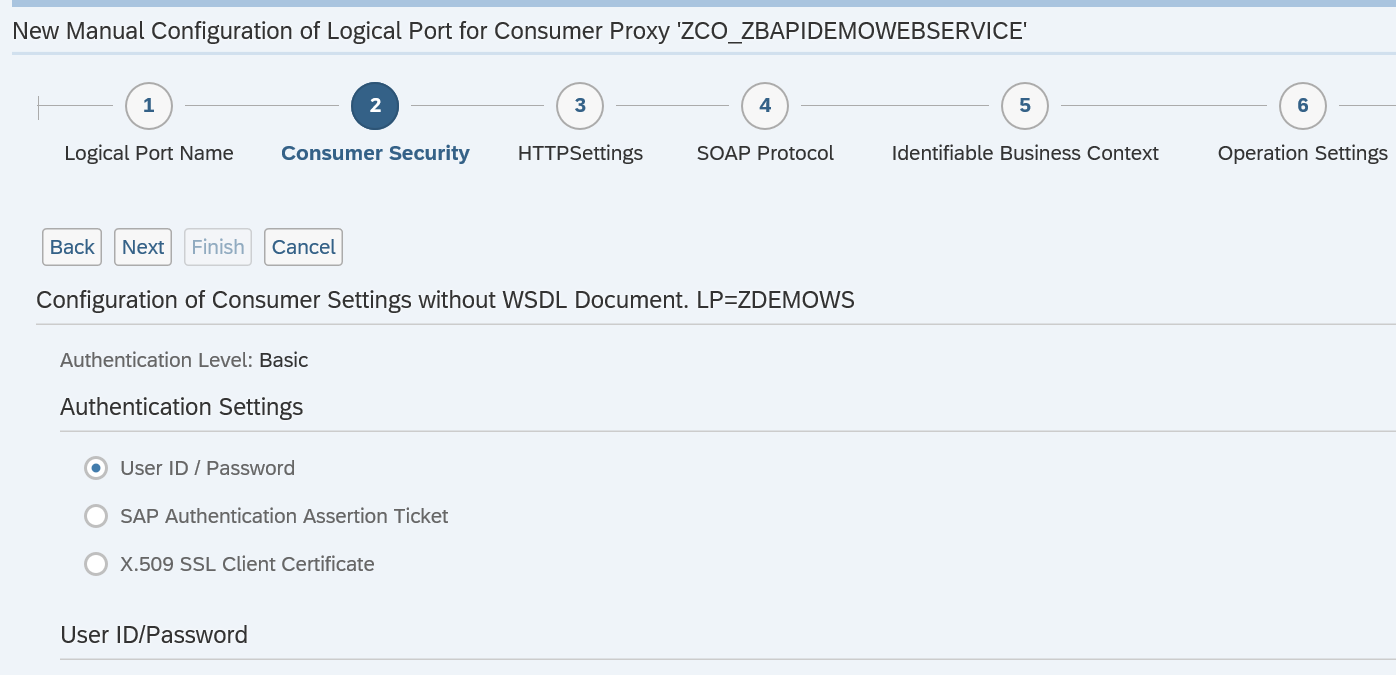
Now fill out user ID and password. Continue and fill out user ID and password:
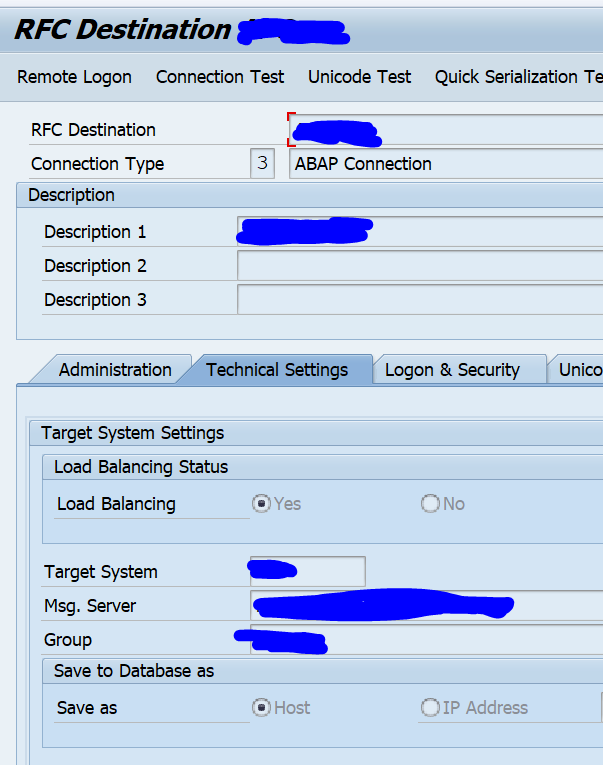
You can lookup the access URL from the service defined in the previous blog and check on the transport settings tab:
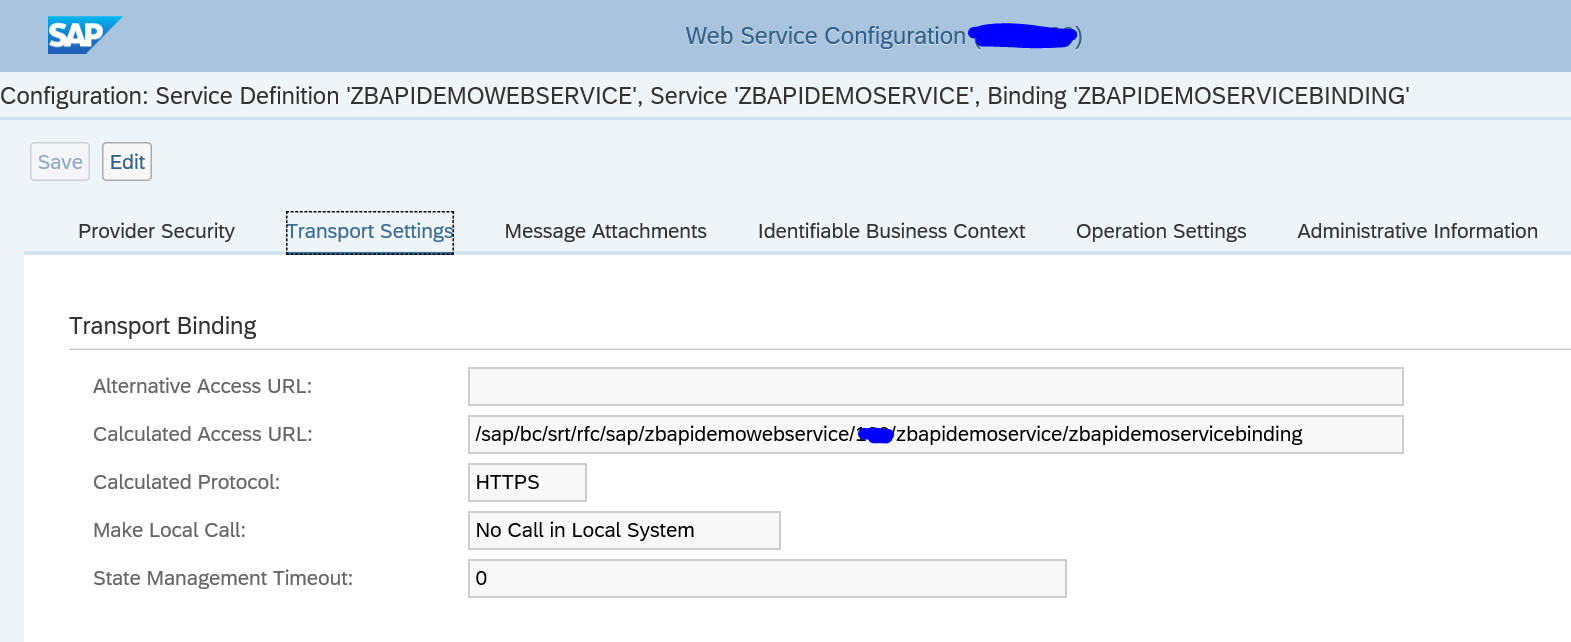
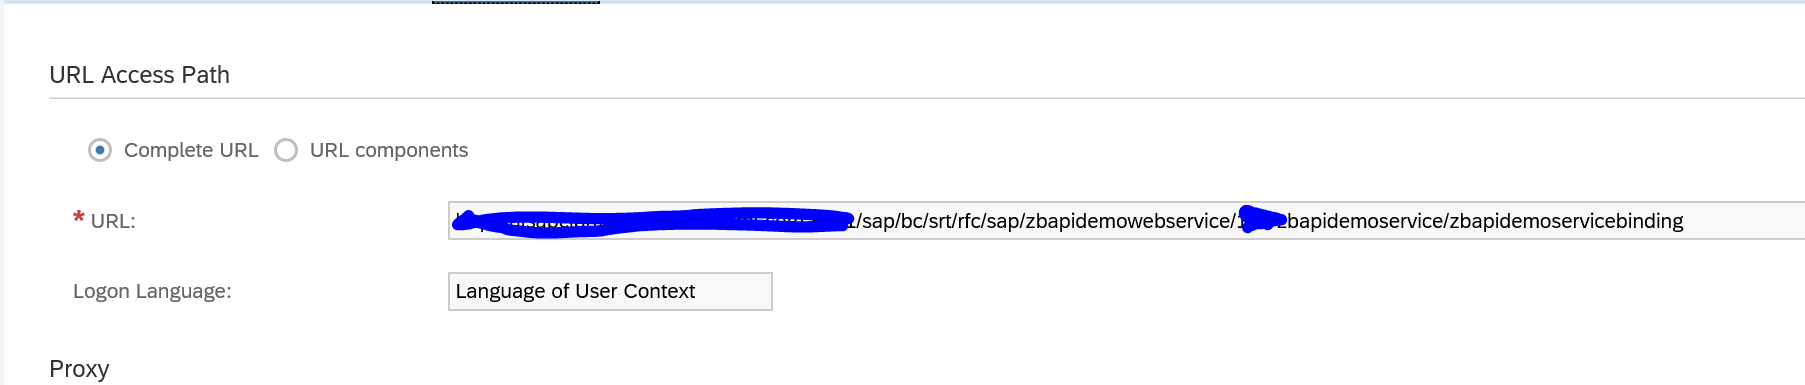
Do not use the WSDL URL address, but the binding URL!
Now fill out the URL details in the next screen.
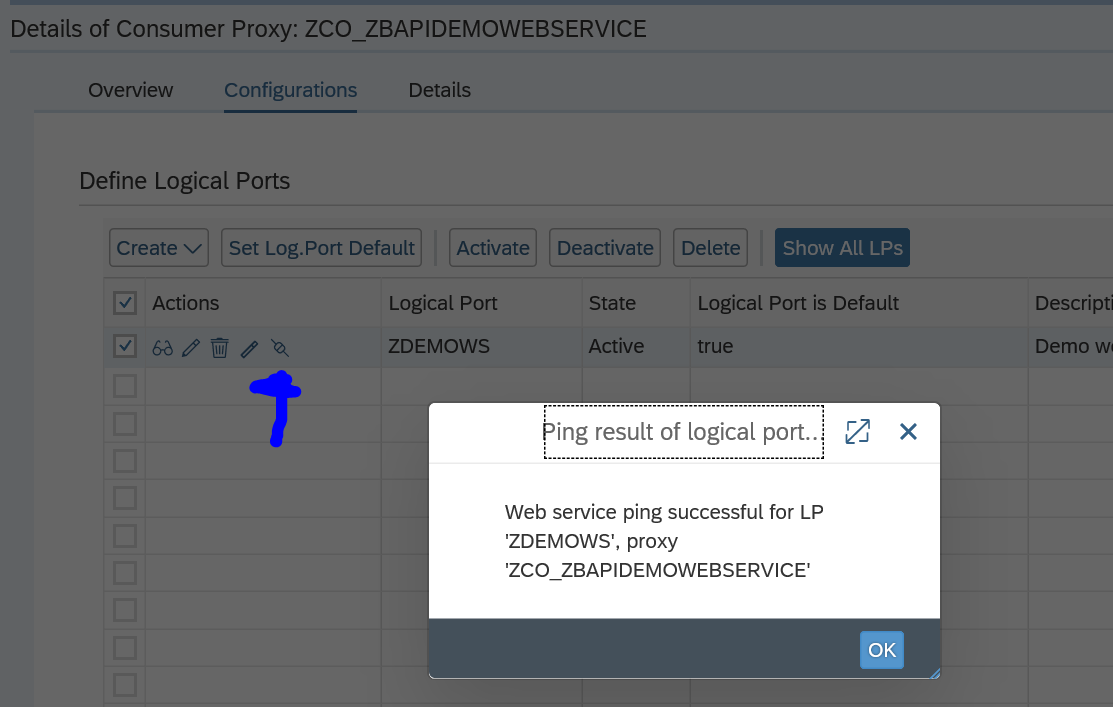
Now finish the roadmap. And on this screen hit the ping web service test button to check if all is ok:
The design time artefacts can be transported. The SOAMANAGER settings need to be repeated in each system. This is wanted as well, since on a test system you might want to call a test web service URL and on production the same web service from the production URL.
Testing the web service consumption setup
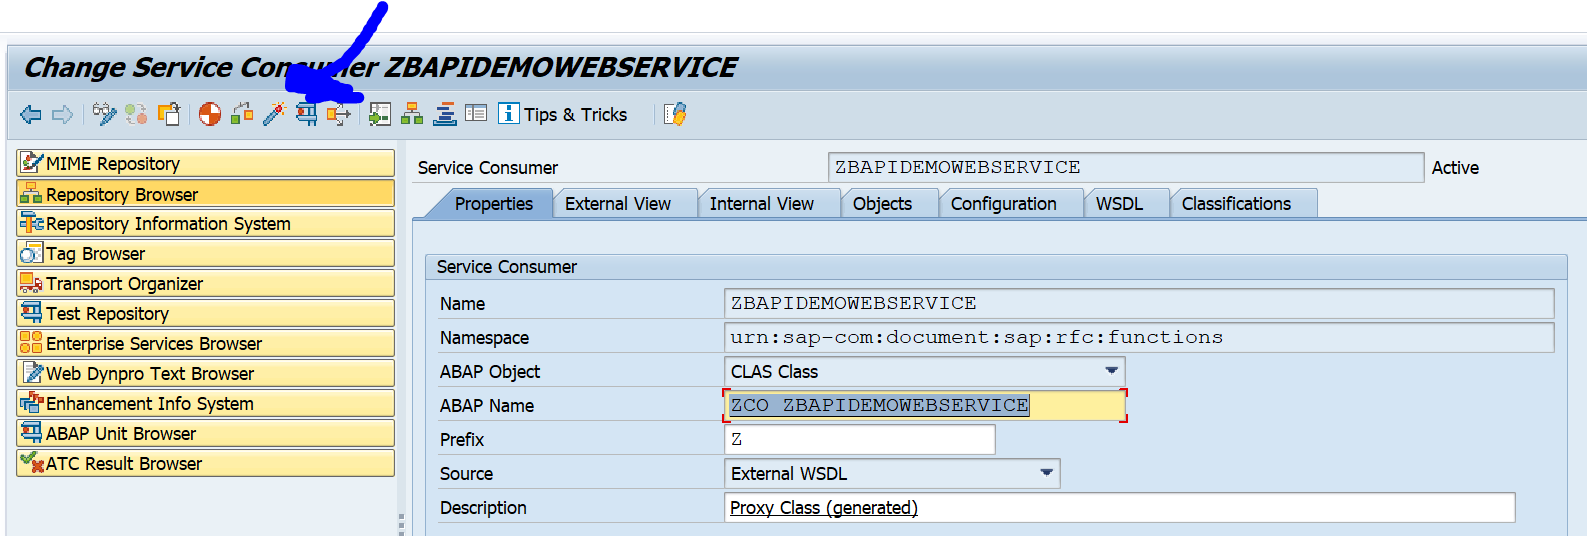
Now go back to SE80 and test the web service consumption:
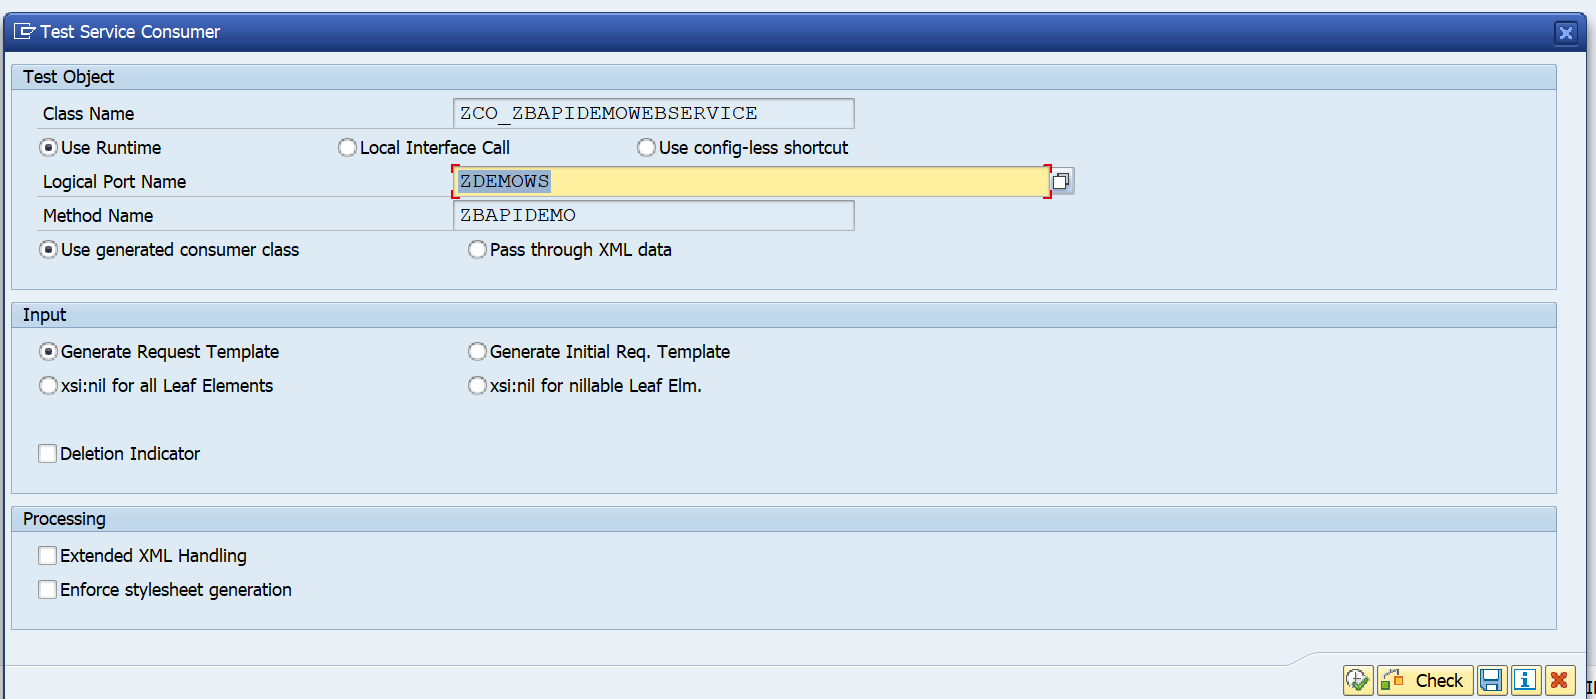
Select the port you created above in SOAMANAGER:
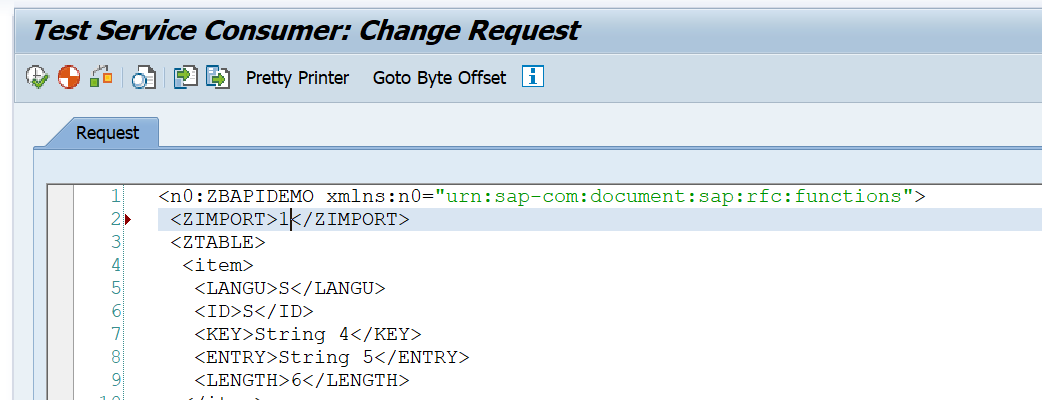
Edit the data:
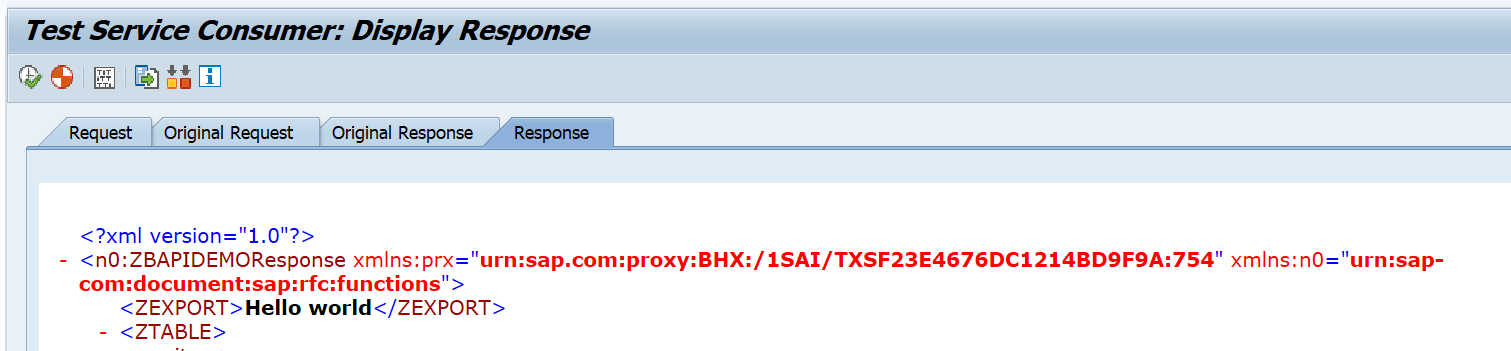
And press test to get the results:
Using the web service consumption proxy in ABAP code
Now we are ready to use the web service consumption proxy in our ABAP code. ABAP code example:
*&---------------------------------------------------------------------*
*& Report ZCONSUMEWS
*&---------------------------------------------------------------------*
*&
*&---------------------------------------------------------------------*
REPORT zconsumews.

* Data Declarations
DATA: zcl_proxy TYPE REF TO zco_zbapidemowebservice, " Proxy Class
      zdata_in  TYPE zzbapidemo, " Proxy Input
      zdata_out TYPE zzbapidemoresponse, " Proxy Output
      zfault    TYPE REF TO cx_root. " Generic Fault

* Instantiate the proxy class providing the Logical port name
CREATE OBJECT zcl_proxy EXPORTING logical_port_name = 'ZDEMOWS'.

* Set Fixed Values
zdata_in-zimport = '1'.

TRY .
    zcl_proxy->zbapidemo( EXPORTING input = zdata_in
                          IMPORTING output = zdata_out ).
    WRITE: / zdata_out-zexport.
  CATCH cx_root INTO zfault.
* here is the place for error handling

ENDTRY.
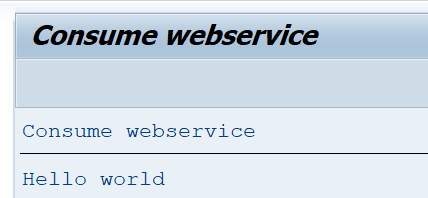
Run the ABAP and see the result:
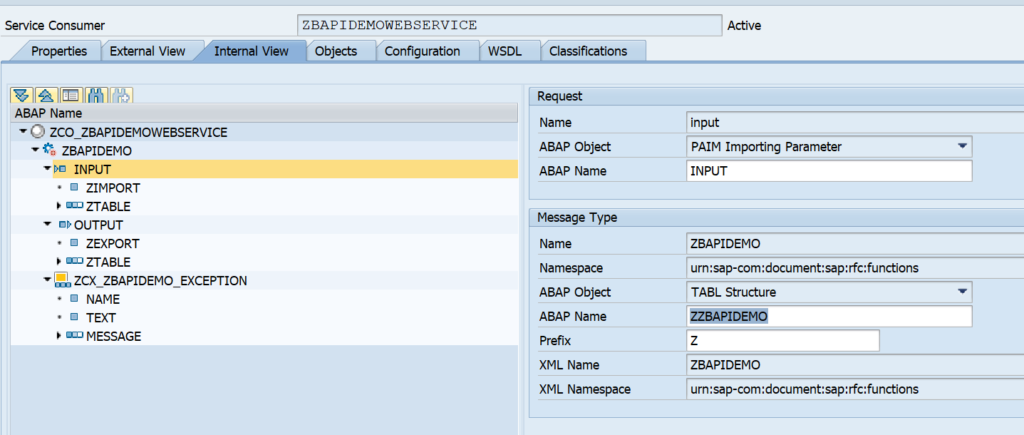
How to get the right parameters? All the required structures can be found on the SE80 ABAP web service consumption proxy internal view:
Authorizations
The end users using the ABAP that is consuming the web service must be given the rights for the correct S_SERVICE object. Otherwise they will get an error that they are not authorized to call the proxy service object.
Monitoring the availability of the web service
It was explained you can test the connection. Unfortunately there is no out of the box way to test this connection in a batch job on a frequent basis. If you want to frequently test and be alerted on issues with connection to the web service, you can read this blog to deploy a simple custom program that executes this function and can be planned in the background.
Background notes and blogs
More information and details can be found in these 2 SAP wiki’s: wiki1 and wiki2.
Relevant OSS notes: