This blog will give technical tips & tricks on embedded search. Embedded search can run on both HANA directly or on separate TREX server. It is assumed you know how to set up search in ESH_COCKPIT and know how the end user transaction ESH_SEARCH work.
Questions that will be answered in this blog are:
- How do I set HANA default connection as embedded search location?
- What to do after a system copy with embedded search?
- How to reset the complete embedded search to initial state?
- How to reset the embedded search buffer?
- How to recreate the embedded search joins?
- How to influence the package size of the search extraction?
- How to check backend part of search?
- How to deal with full text search issues?
- How to deal with authority index issues?
- How to deal with high load issues on TREX?
Activating search in S4HANA
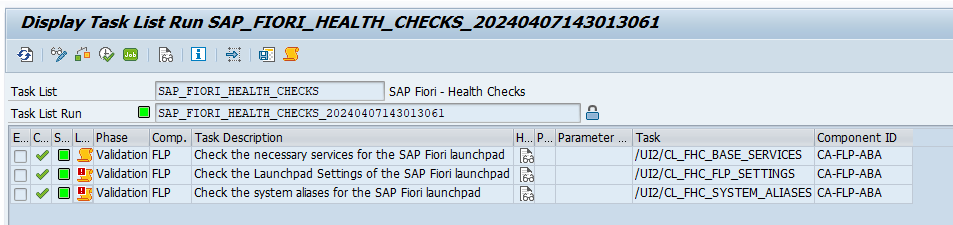
If you are running S4HANA, you can use an STC01 task list to fully setup the search function. Read this blog on technical activation and this blog for FIORI search for full instructions. The remainder of the blog below can be used in case of issues.
Setting the search connection to use HANA default database connection
If you are running HANA database for ECC you can use the HANA default primary database connection for search setup. This is easier in maintenance: no extra TREX needed, no extra secondary DB connection. Search will consume extra memory and CPU off course on the HANA database.
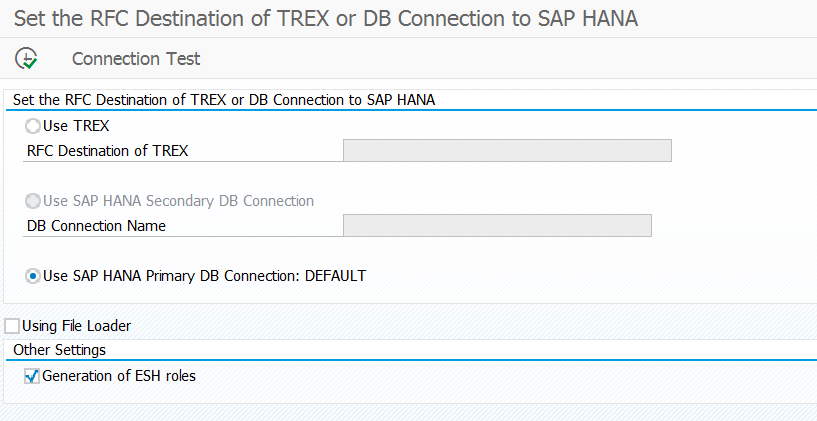
To set this up run program ESH_ADM_SET_TREX_DESTINATION and select the Use HANA Primary DB connection option.
Notes:
- 2923447 – Error ESH_ADM_MSG159 occurs when try to change the ESH RFC destination
- 3233495 – ESH task list error ‘RFC destination or DB connection to SAP HANA was not set’
Task list to run after system copy
After you copy a system the search will not immediately work. In client 000 start transaction STC01 and run task list SAP_ESH_ADJUST_AFTER_COPY. See also OSS note 2479611 – Error message: “Current system is a copy of another system”. See also note 2583055 – ESH_ADM_MSG281 error when run the task list SAP_ESH_ADJUST_AFTER_COPY on client 000 after the system copy. And read note 3243784 – Invalid value 10.000 when assigning values of parameter P_PACKS in report ESH_IX_CRT_INDEX_OBJECT_TYPE.
Resetting all settings to initial
When things gone really beyond repair, you can log on to client 000 and start transaction STC01 and run task list SAP_ESH_RESET.
Important: write down (or make screen shots) on the connectors and settings that were active before running this task list. It will really wipe out all connectors and settings.
More information can be found in OSS note 2626143 – How to execute SAP_ESH_RESET.
Resetting the buffer
Run program ESH_REFRESH_RUNTIME_BUFFER in the working client to reset the trex buffer.
Bug fix note: 2947055 – CDS activation: Runtime error in report ESH_REFRESH_RUNTIME_BUFFER. And 3253863 – CDS: Timeout error during execution of report ESH_REFRESH_RUNTIME_BUFFER.
Recreation of join indexes
Run program ESH_RECREATE_ALL_JOIN_INDICES in the working client to recreate the join indexes. See also OSS note 2112153 – How to recreate ESH join indexes which are corrupted in TREX.
Influencing package sizing per object
With program ESH_SET_INDEXING_PACKAGESIZE you can set the package size for indexing per object. You can lower the size for large objects to avoid memory issues while indexing. Issues can be dumps on SYSTEM_NO_ROLL / LOAD_NO_ROLL / TSV_TNEW_PAGE_ALLOC_FAILED / SYSTEM_NO_SHM_MEMORY.
See these OSS notes:
- 1916361 – ESH indexing dump: SYSTEM_NO_ROLL / LOAD_NO_ROLL / TSV_TNEW_PAGE_ALLOC_FAILED
- 2758222 – Runtime Error: SYSTEM_NO_SHM_MEMORY with Except. CX_SHM_OUT_OF_MEMORY when indexing connectors
- 2540240 – High Memory and Indexing problems in TREX.
- 3239620 – Customizing reports for ESH indexing: Only objects already created as search connectors can be selected
Check backend part of search
To check if a search issue is related to application coding or is related to search setup, you can run program ESH_TEST_SEARCH (with same transaction code ESH_TEST_SEARCH). This program gives you options to test the search independent of any programming of search front end.
Bug fix OSS note: 2972790 – ESH_TEST_SEARCH – value help for attribute search: Values are not transferred case-sensitively.
Full text search issues
If you are having issues with full text search, please check OSS note 2280372 – How to check Full Text search issues. This note is focusing on full text search issues in relation to solution manager CHARM, but the methods described can be used as well for analyzing other full text search issues.
Setting the extraction user ID
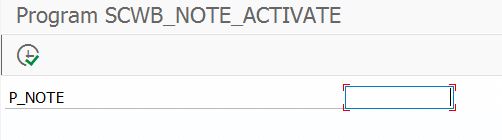
Use program ESH_EX_SET_EXTRACTIO
Bug fix OSS note: 2938916 – ESH extraction user – option “Generate User” – adjustment of password policy.
Authorization indexing issues
While indexing you might get authorization indexing issues. First step is to repeat with sufficient rights attached to your user ID. Then run program ESH_ADM_RECALC_AUTHS to force the recalculation of the authorizations.
If it does not help, you can read the very extensive OSS note 2472239 – Error message “Authorization indexing unsuccessful” when creating search connectors. And OSS note 2729739 – Error indexing search connectors: “Authorization indexing unsuccessful for object type USER_AUTHORITY”.
New option to partially skip the checks for indexing: 3088737 – Customizing option for completely deactivating authorization indexing for individual ESH authorization indexes.
Index preload
For some TREX issues index preload can be a solution. More information on index preload can be found in OSS note 2115082 – ESH Index Preload.
Python check script
For detailed check on TREX embedded search there is a special Python check script, which is not installed by default. The script can be downloaded as attachment from OSS note 2227741 – TREX 710: check of the TREX settings for the Enterprise/embedded Search scenario. Read OSS note 2344042 – How to execute python script check_esh.py on how to install and run the script.
TREX memory issues
If you are seeing high memory consumption in TREX, please check OSS note 2540240 – High Memory and Indexing problems in TREX.
TREX high load issues
If you are experiencing high load issues, consider increasing the amount of threads. Reference OSS note: 1065406 – BWA: Raise number of TREXRfcServer threads.
TrexViaDbsl Analysis Tool in ABAP
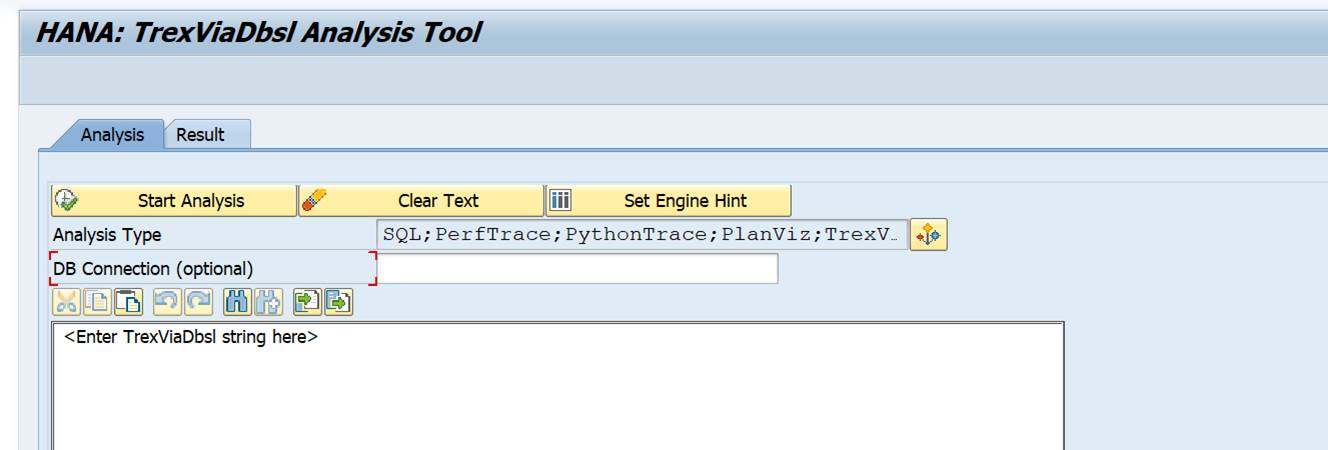
In newer versions this tool is available. Otherwise apply OSS note 2690982 – TrexViaDbsl Analysis Tool in ABAP. Then in SA38 you can launch program RHANA_TREXVIADBSL_ANALYZER for the analysis tool:
A more detailed explanation is given in OSS note 2800048 – FAQ: SAP HANA TREXviaDBSL.
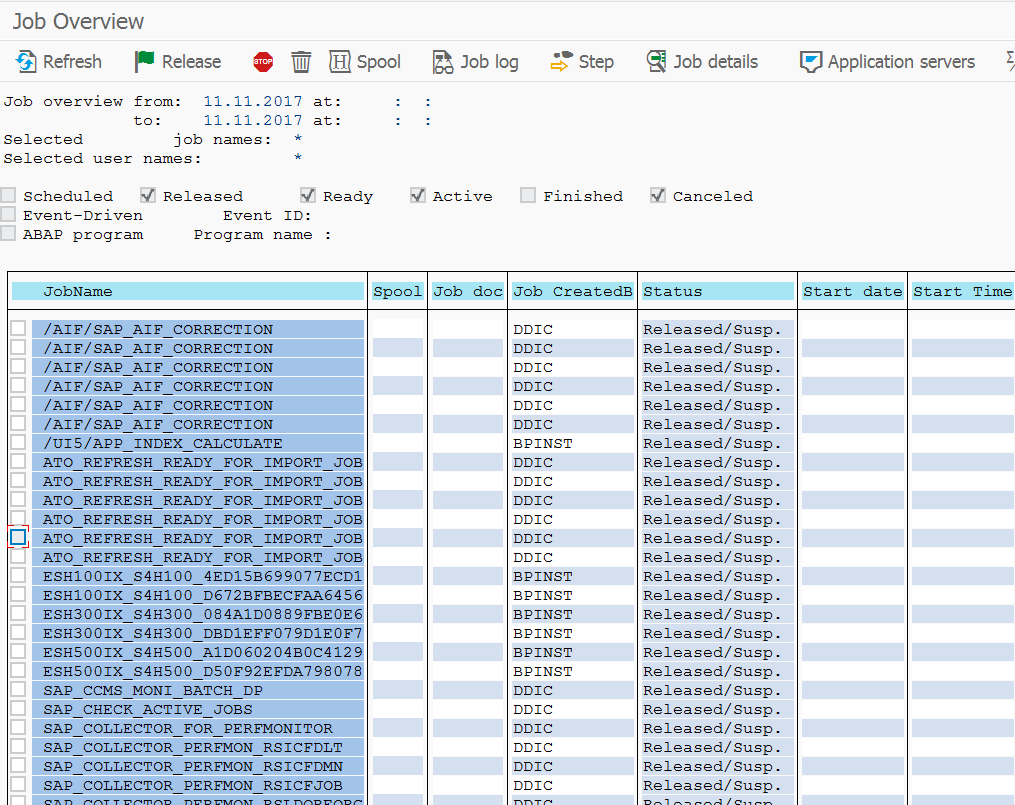
TREX jobs
See OSS note 3169829 – When and how the job ESH<Client>IX_<System SID><Client>_* is created for the jobs TREX is creating on the ECC backend system:
- ESH_IX_PROCESS_CHANGE_POINTERS/ESH_FU_DEMON,
- ESH_IX_CRT_INDEX_OBJECT_TYPE
- ESH_SE_CONNECTOR_MOD_BGD
TREX administration
For TREX administration read this dedicated blog.
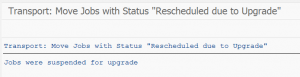
Re-indexing and model update after upgrade
After an upgrade or support package, a model update is required. See OSS note 2468752 – Re-indexing after an application Upgrade.
Search speed for ECC
If you run ECC and use HANA as database, you can make use of SFW5 switch BSESH_HANA_SEARCH to speed up the search using HANA based features.
Special use cases
SAP solution manager documentation
If you have search issues with SAP solution manager documentation, there is a special OSS note 2608454 – FAQ: How to handle issues with the (embedded) search functionality in the context of Solution Documentation . This OSS note also contains coding for special test program that will check all relevant settings for the solution documentation search function to work properly.